Gluten Free Flourless Fallen Chocolate Cake: One of the Best Cakes You’ll Ever Eat
This is a recipe you won’t want to lose. Promise.

One of the best cakes I’ve ever made.
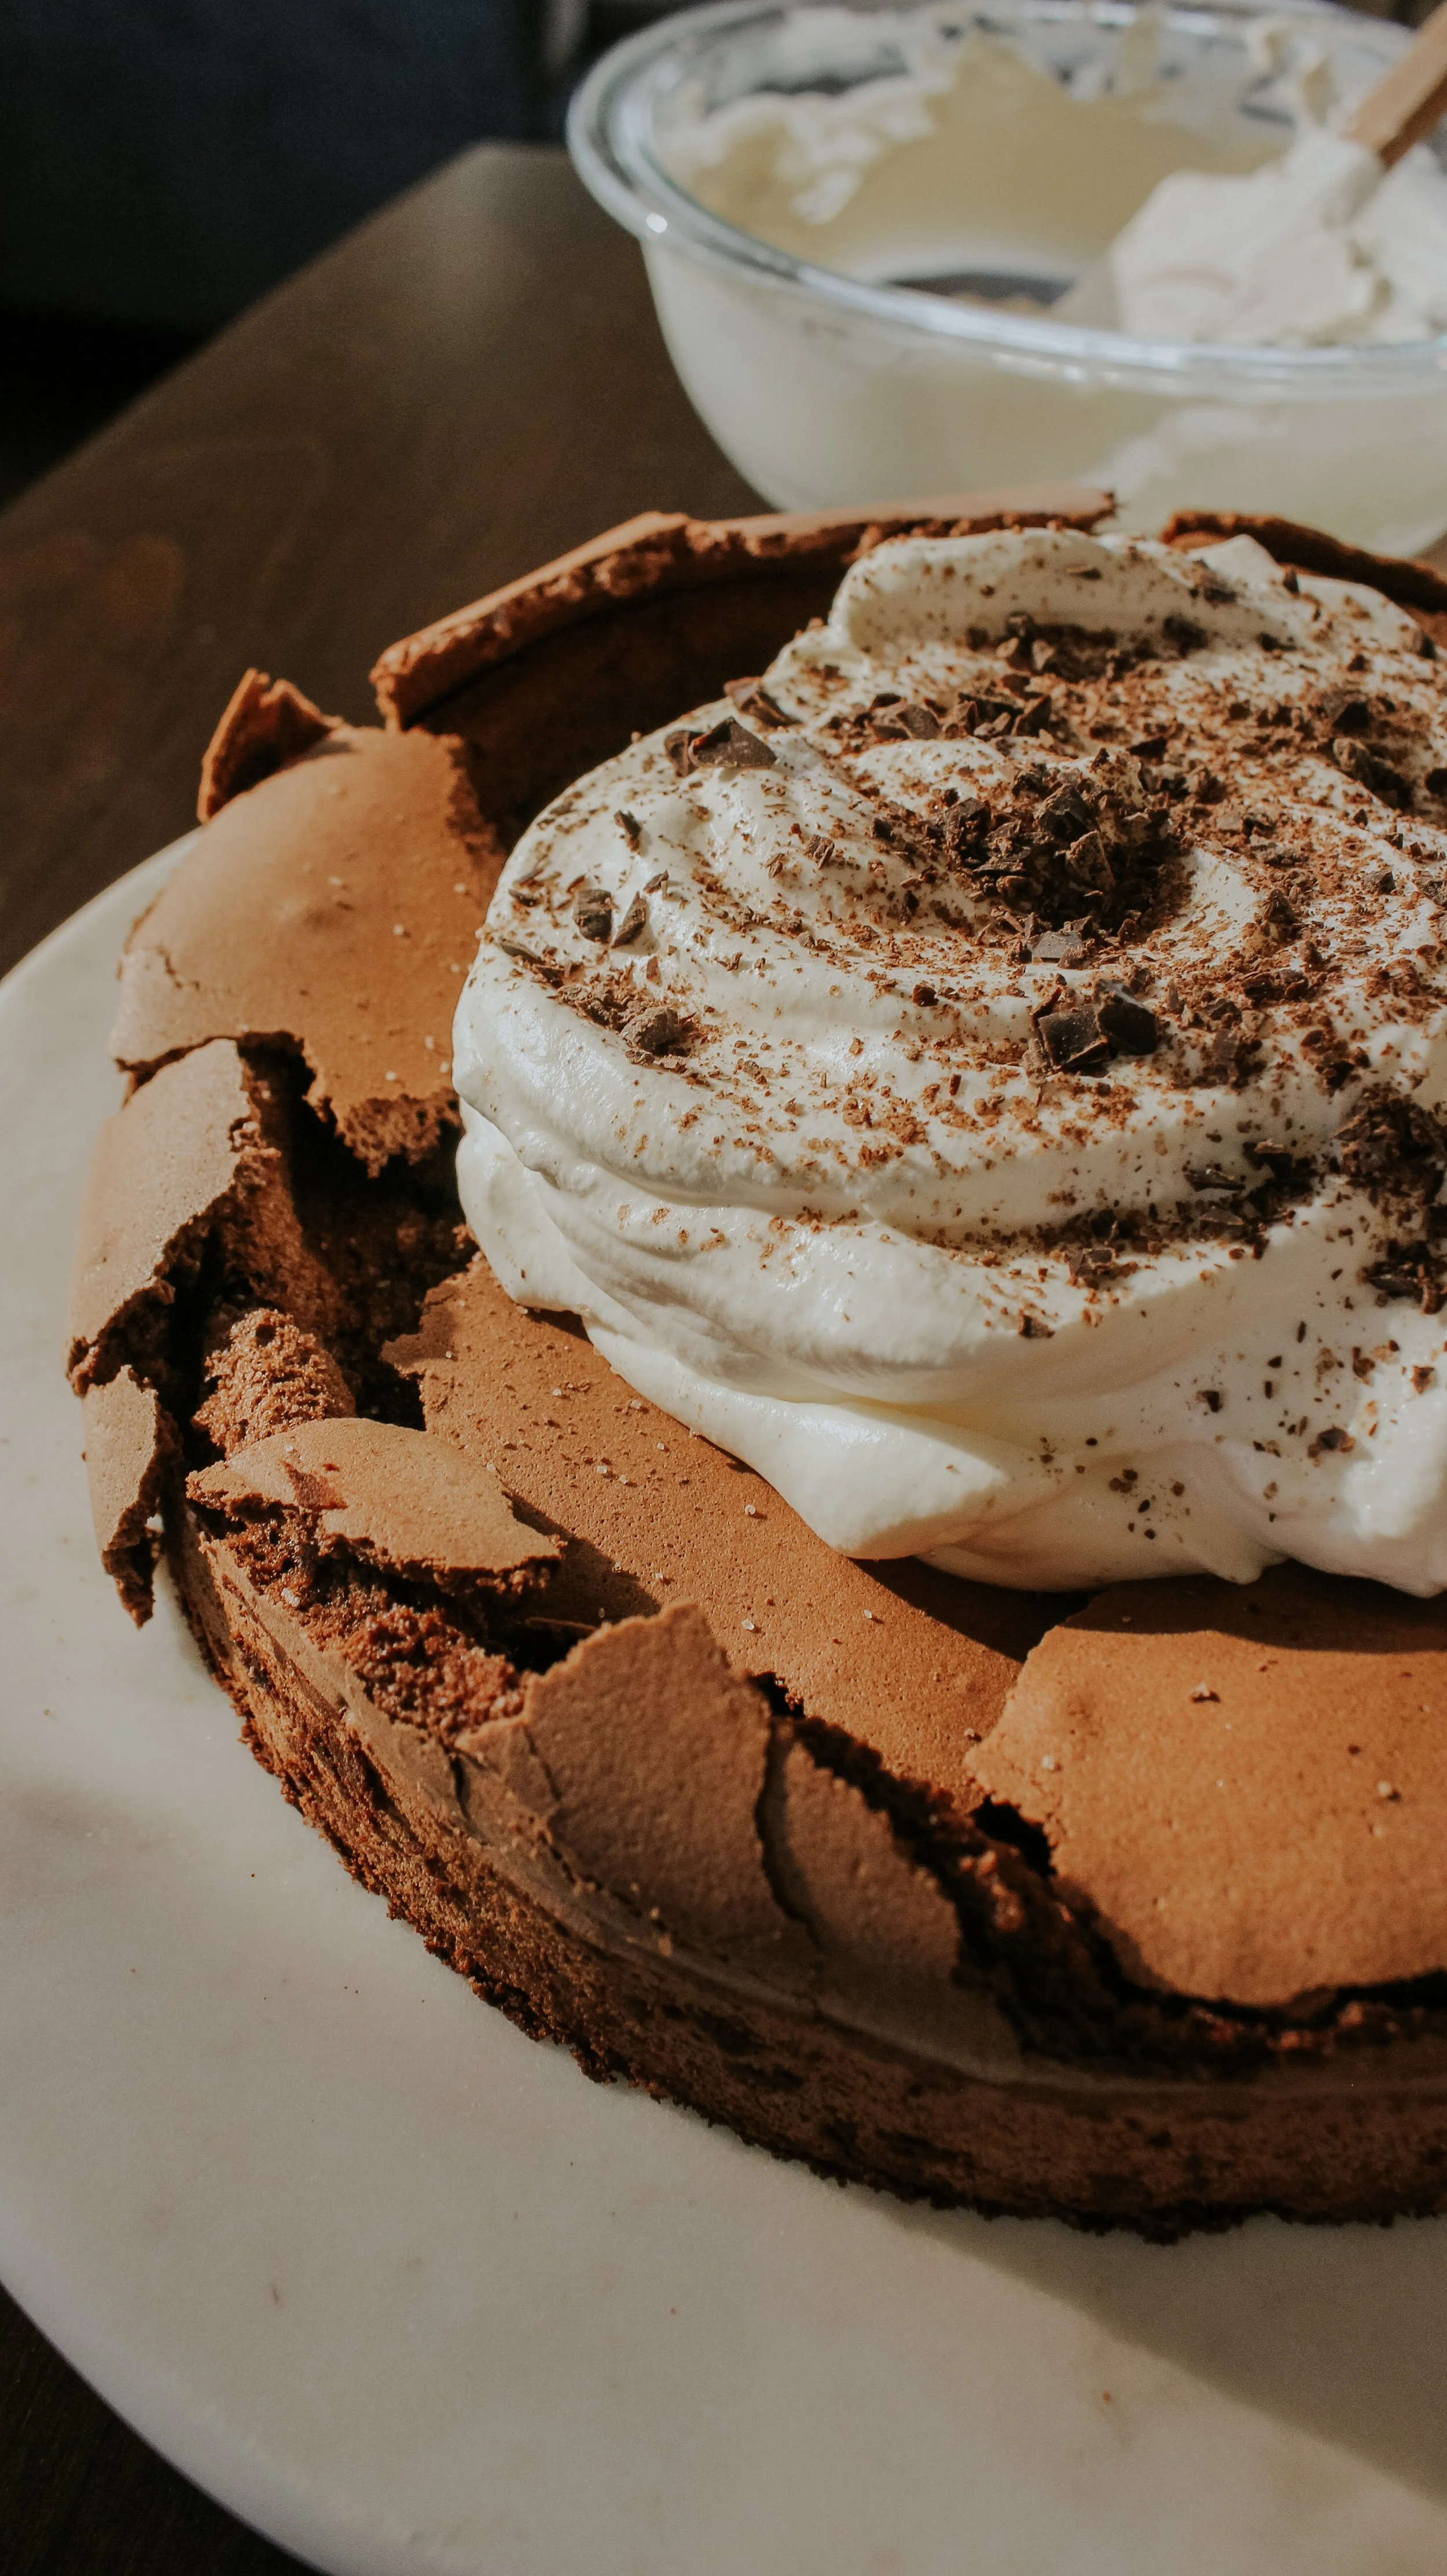
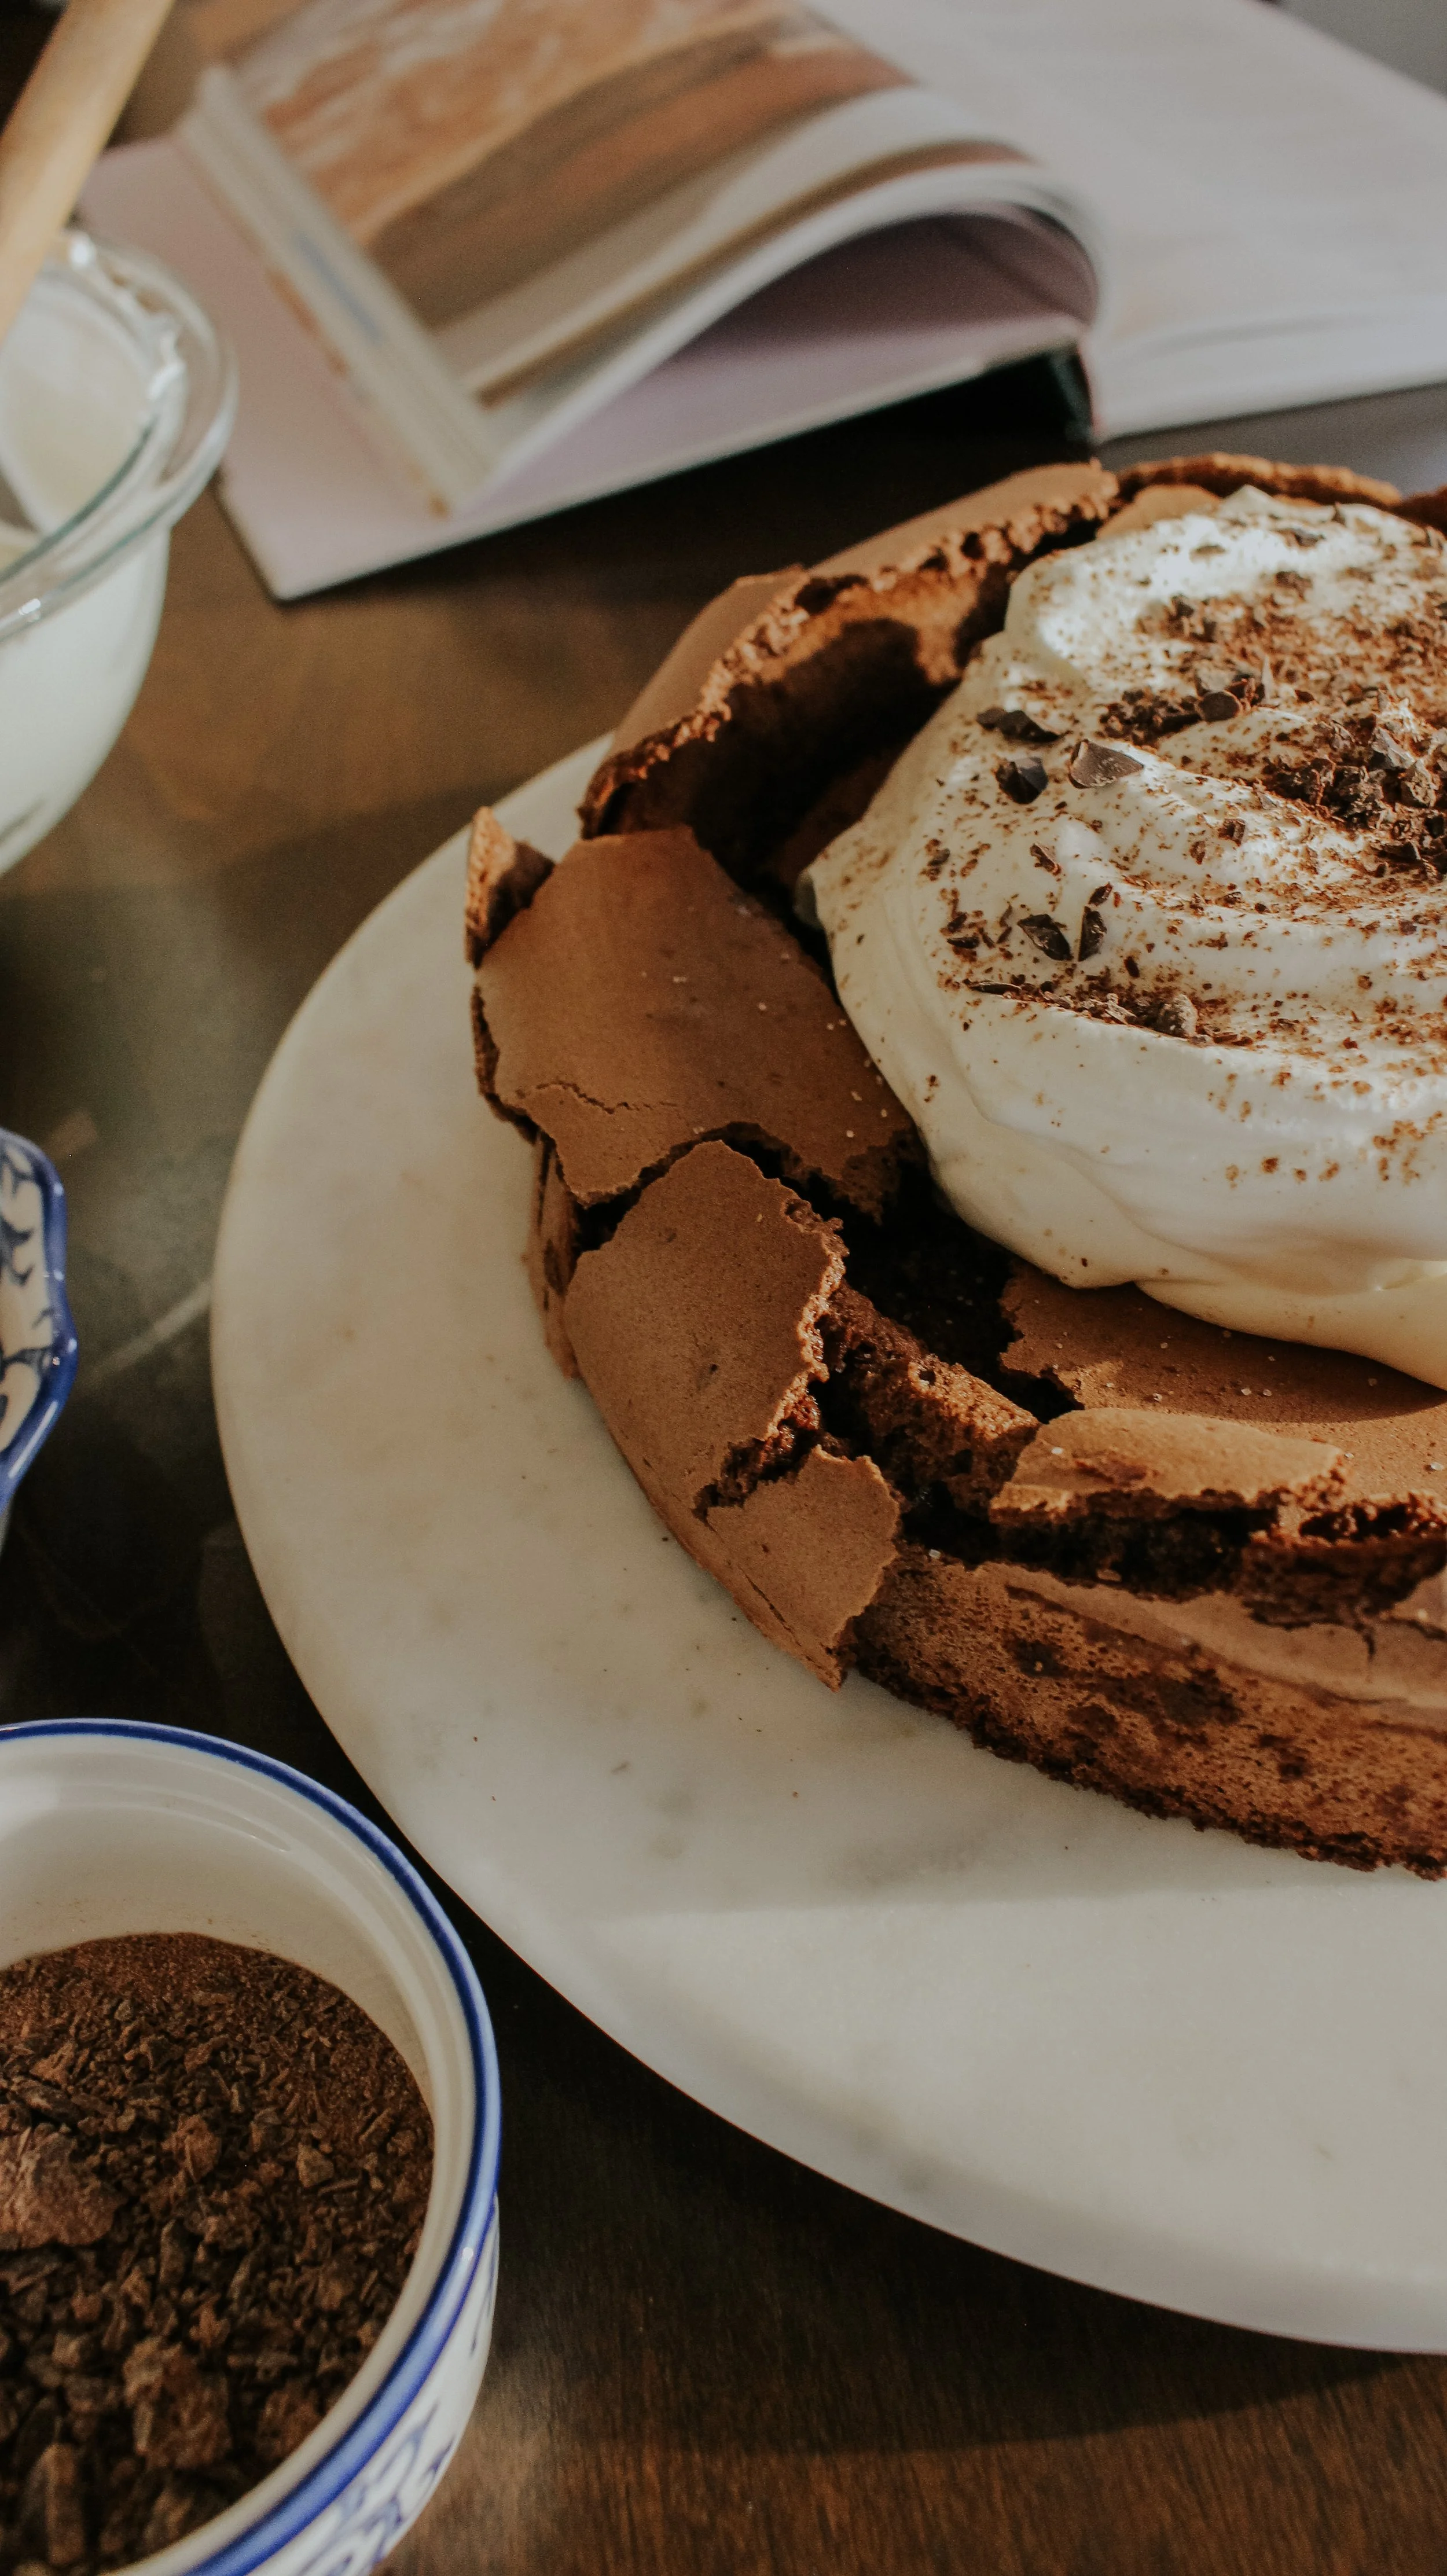
A few years ago I tried a flourless chocolate cake for the first time at a friend’s birthday party and I have been thinking about it ever since. Not only was it insanely delicious, but it was absolutely beautiful. I love that it wasn’t a perfectly frosted cake. Instead, it boasted with imperfections and cracks. It had such a beautiful organic look that I just couldn’t get over.
I decided it was finally time to give this cake a shot. honestly if I knew it was this easy to make I probably would have made it much sooner. Some cakes can cost quite a bit to make, but this one truly wasn’t bad and most of the ingredients were one’s I already had on hand. I ended up coming across this recipe on Pinterest (follow me over there!), so it isn’t anything original that I came up with, but it is tried and true. You can also find this recipe in the Food52 Genius Desserts Cookbook. I compared several different flourless chocolate cake recipes, but this Richard Sax recipe seemed to be the best of the best. And honestly. It was one of the best cakes I have ever made. It definitely made it to my top 3!
You don’t have to top the cake with whipped cream, in fact, I almost didn’t. BUT, I am so glad I did. It was delicious and made this rich cake even more delicious.
If you’re a visual person like me, I highly recommend this step-by-step video from Food52. They call it “Richard Sax’s Chocolate Cloud Cake”, but it’s the same exact recipe!
Let’s get to it.
Before we move forward, here are a few things you will need to have for this flourless cake:
Ingredients
Cake
8 oz bittersweet chocolate, coarsely chopped
1/2 cup unsalted butter, at room temp and cut into 1-tablespoon pieces
6 large eggs
1 cup sugar
Whipped Cream
1 1/2 cups heavy cream, very cold
3 tablespoons confectioners’ sugar
1 teaspoon pure vanilla extract
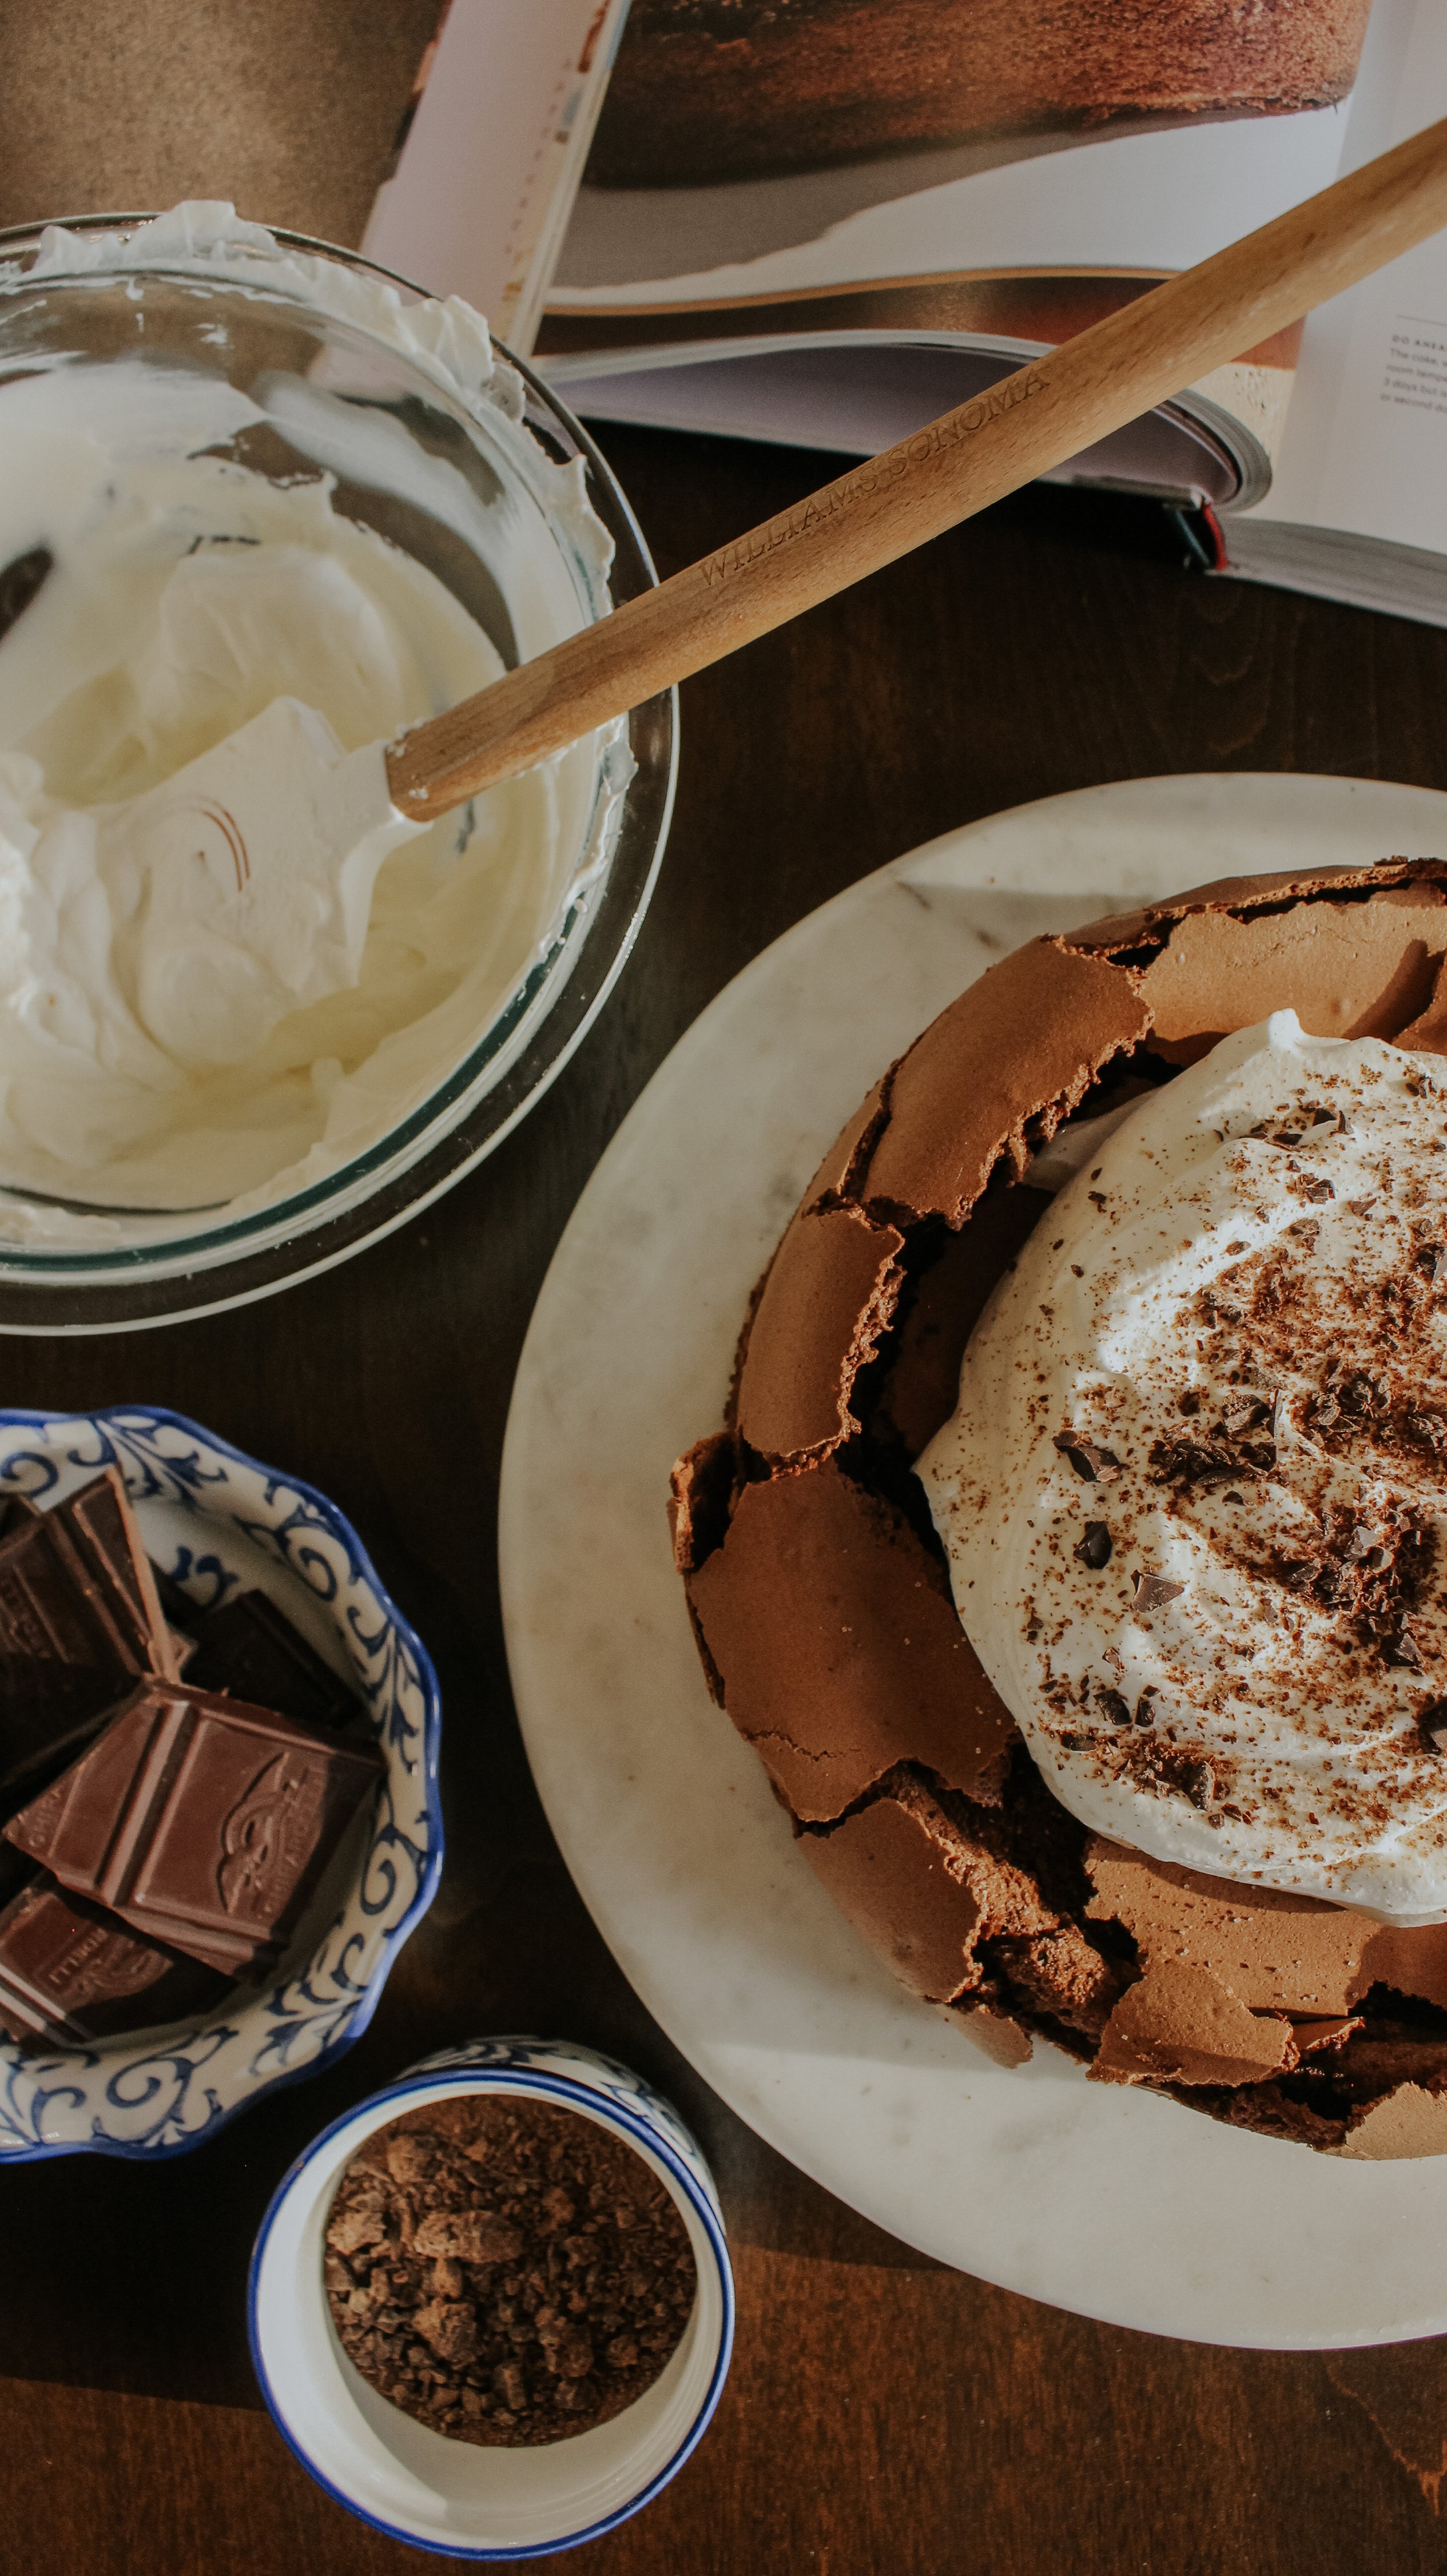
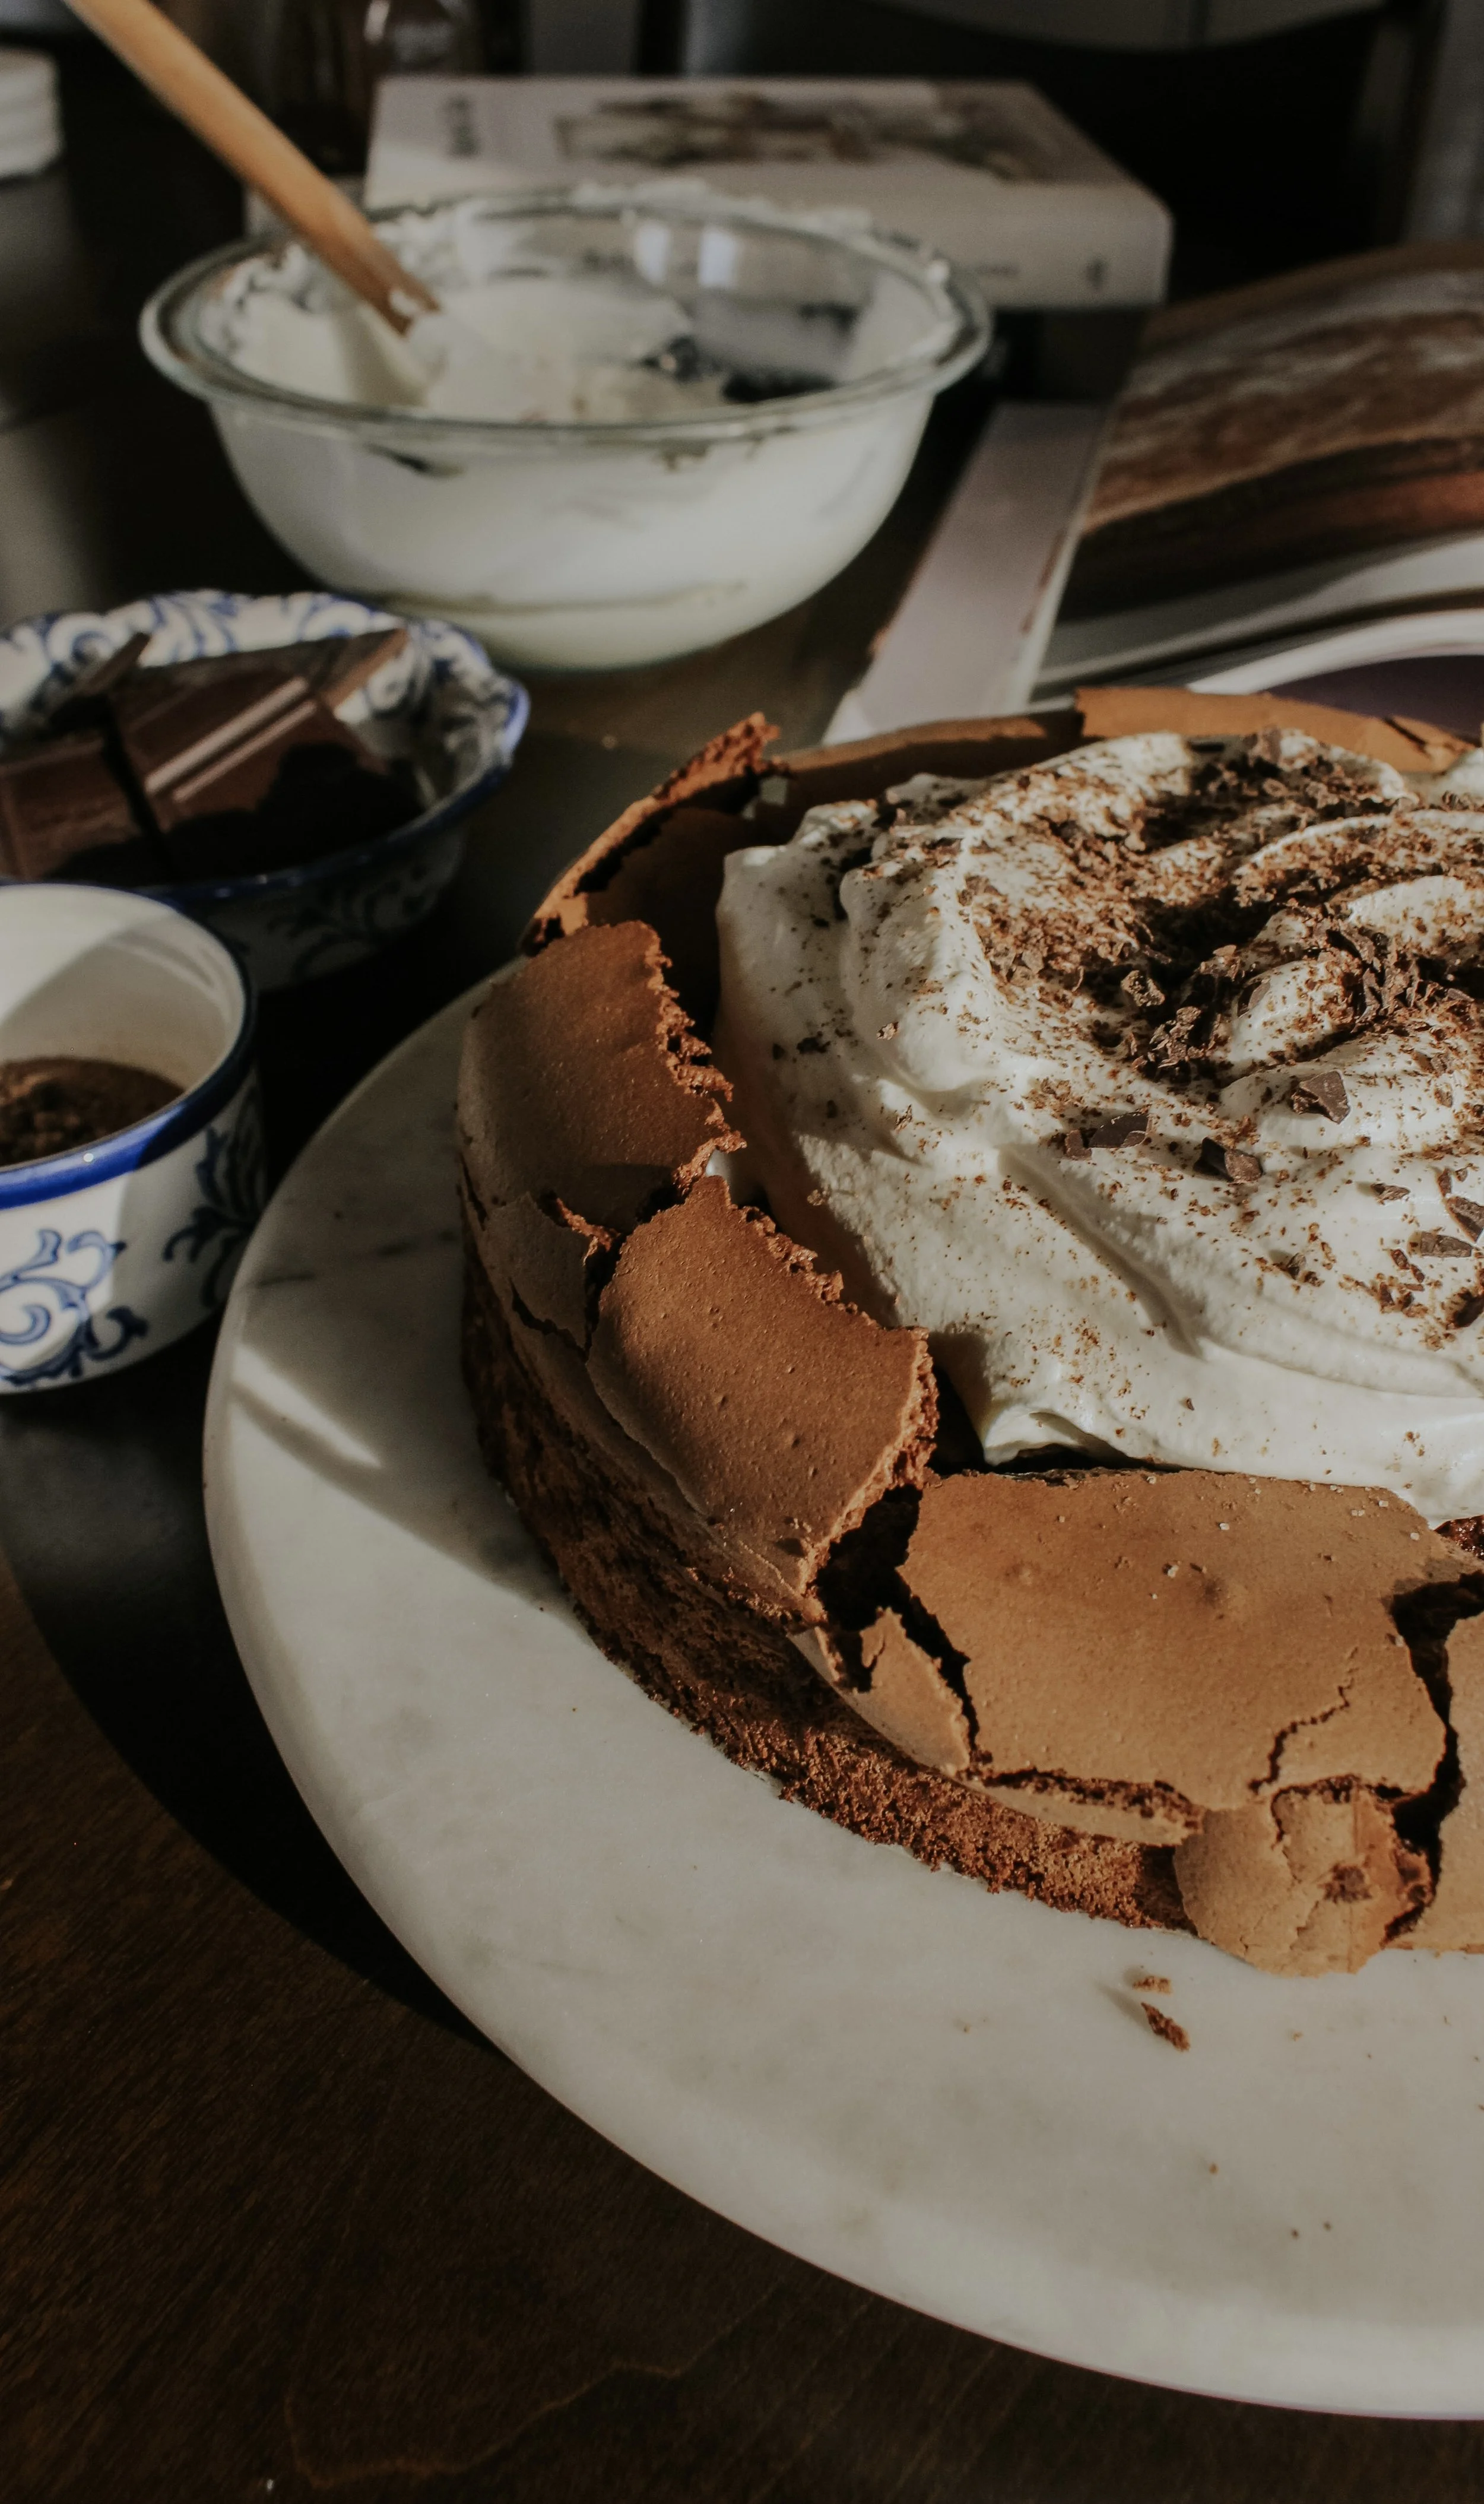
Toppings: Unsweetened cocoa powder and bittersweet chocolate shavings.
Not even going to lie, I didn’t have any regular cocoa powder on hand, but I did have this chocolate truffle hot cocoa powder and it was just as glorious if not more!

Instructions.
Cake
1. Pre-heat oven to 350°F. Line bottom of 9-inch springform pan with parchment paper. (Do NOT butter pan or parchment.)
2. Melt chocolate in a heatproof bowl & set over—but not touching—gently simmering water in a saucepan. You can whisk occasionally to help it along.
3. When melted, remove bowl from heat & whisk in butter until smooth.
4. In 2 small bowls, separate 4 of the eggs—yolks in one bowl and eggs whites in the other.
5. In a large bowl, whisk 2 whole eggs & the 4 egg yolks with 1/2 cup of sugar until combined.
6. Slowly whisk in the warm chocolate mixture with the egg & sugar mixture.
7. Using a handheld mixer in a separate bowl, beat the 4 egg whites until foamy, about 2 minutes. Gradually add the remaining 1/2 cup sugar & beat until glossy—soft peaks form—about 5 mins.
8. GENTLY fold about a 1/4 of beaten egg whites into the chocolate mixture, then gently fold in remaining whites. You don’t want to beat the batter!! Scrape batter into the pan & smooth the top.
9. Set pan on rimmed baking sheet & bake until the top is puffed & cracked & the center is no longer wobbly, 35 to 40 minutes.
10. Let cake completely cool in the pan on a rack. As it cools, your cake center will sink & the cake should crack—this is a good thing! Leave in pan until you top with whipped cream.
Whipped Cream
1. Whip the cream, confectioners’ sugar, & vanilla in a large bowl with a handheld mixer until soft peaks form.
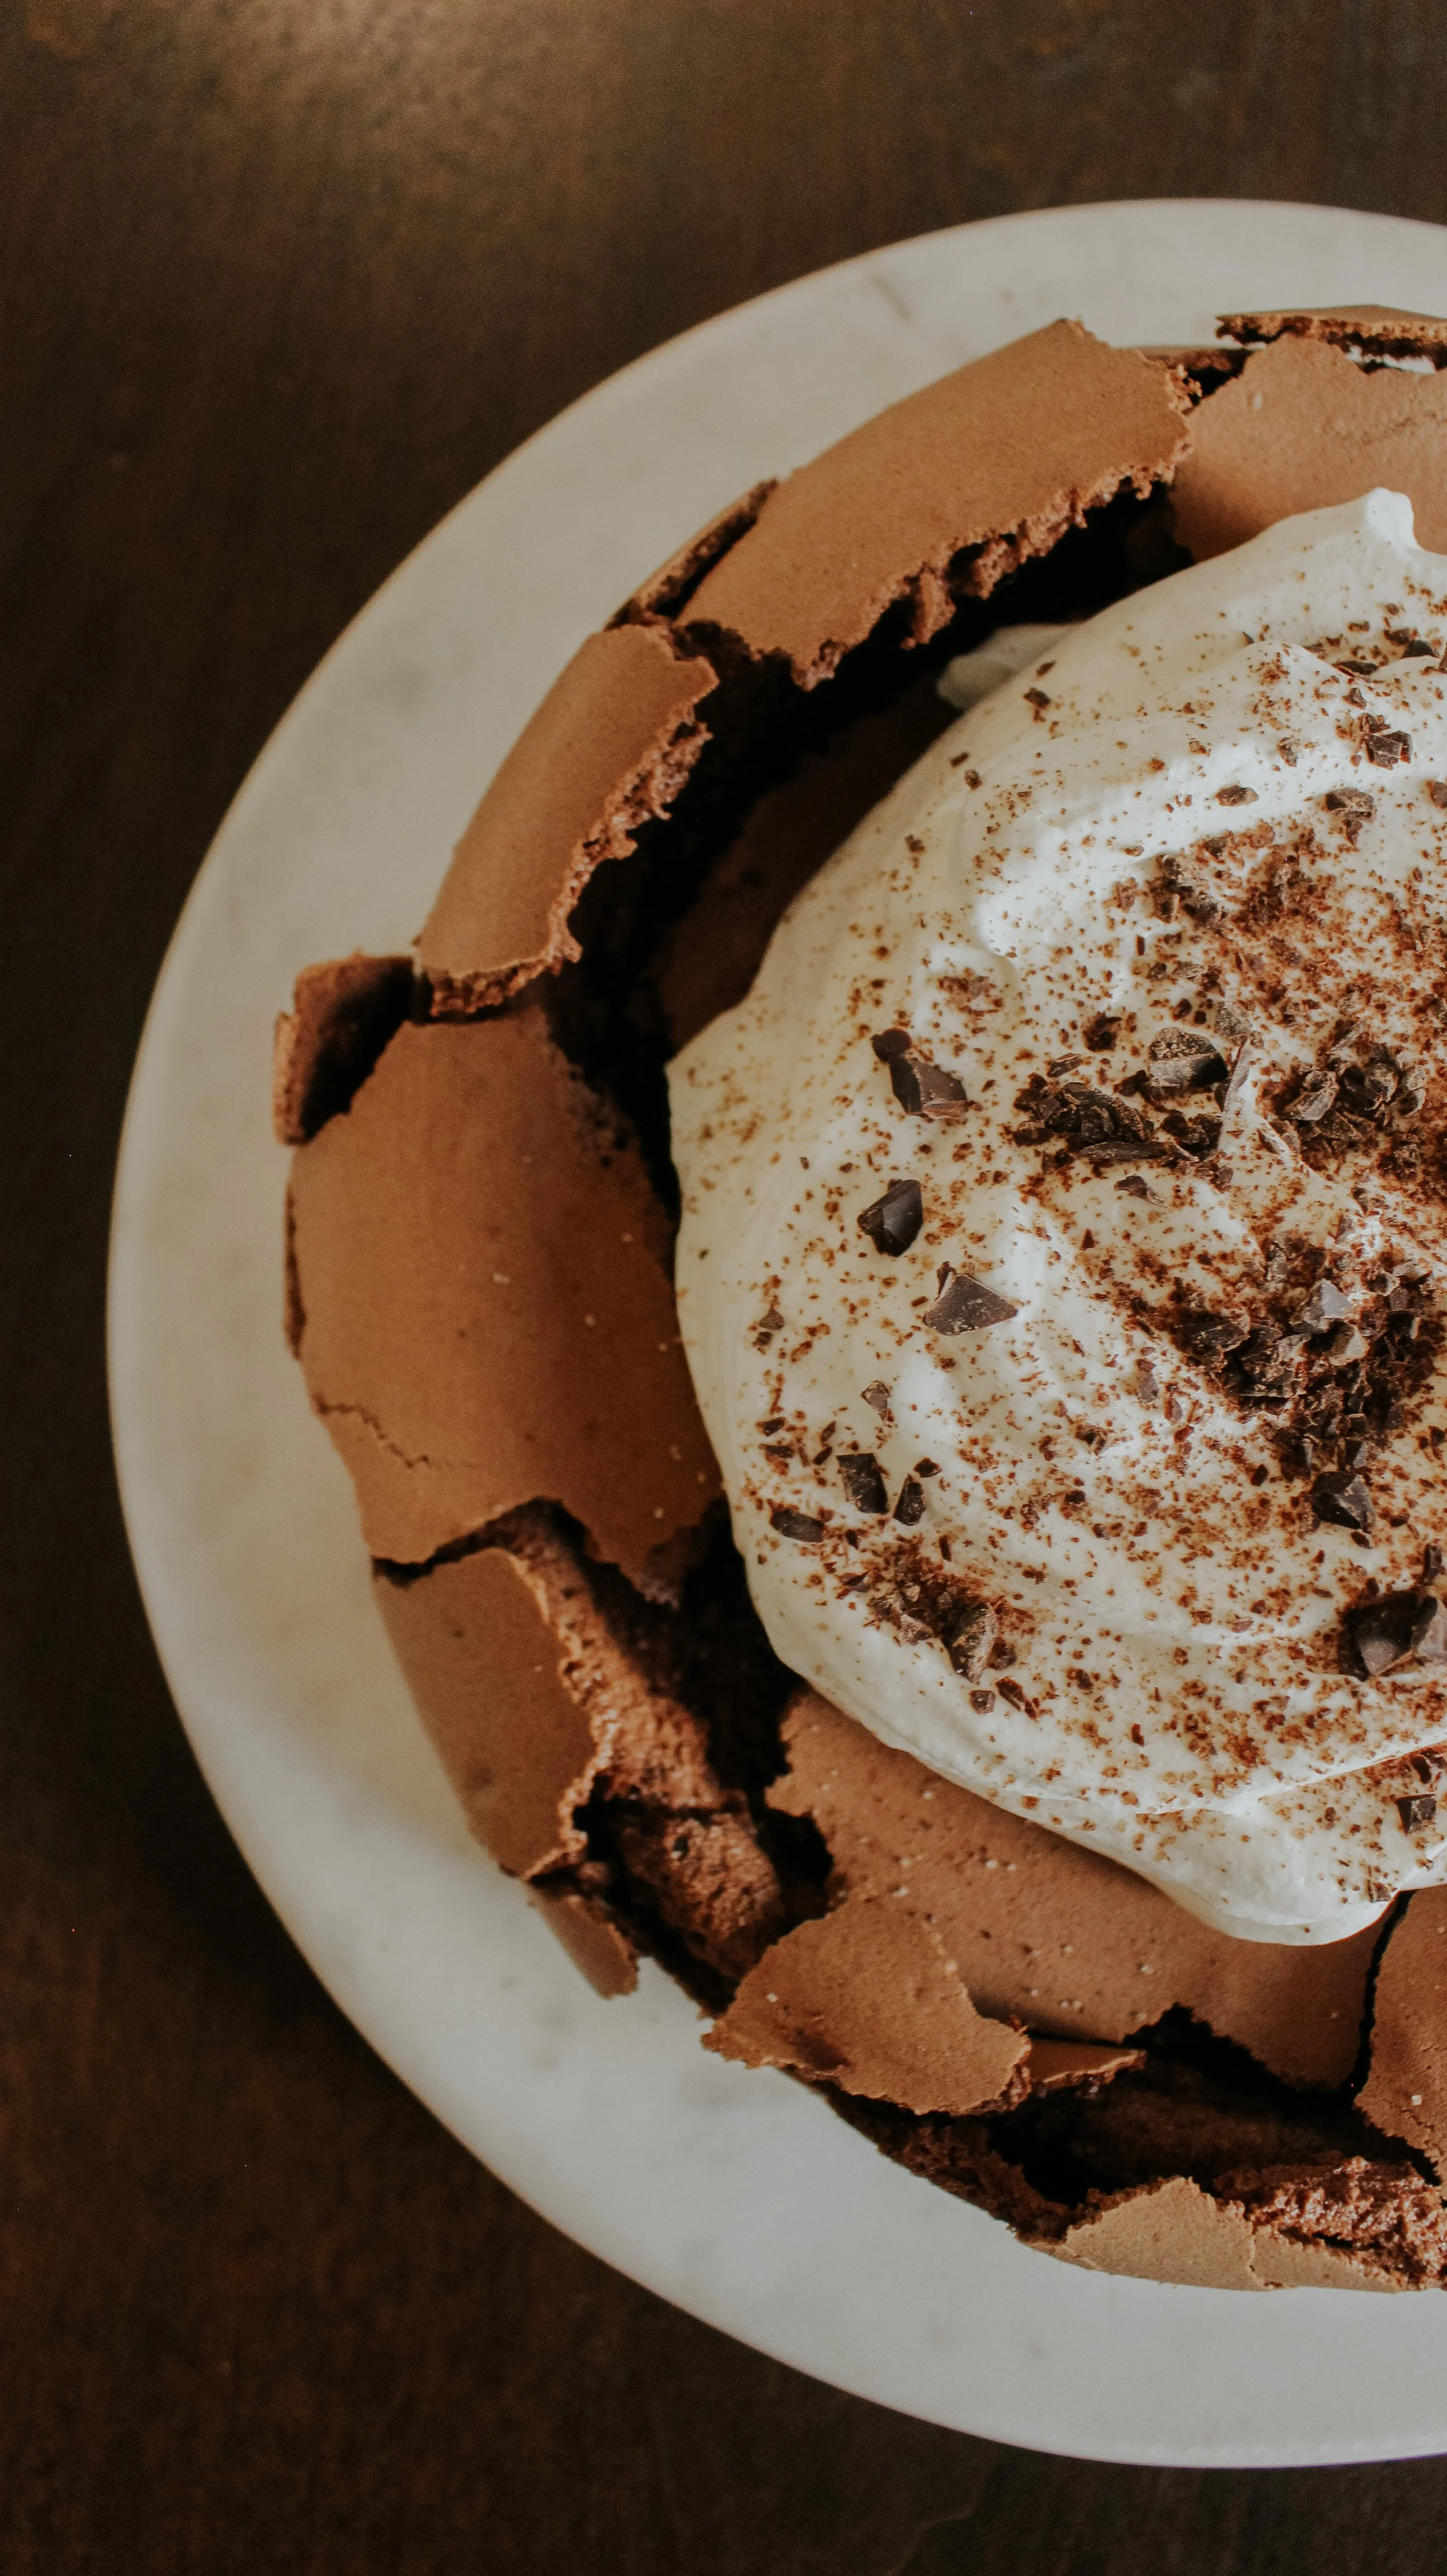
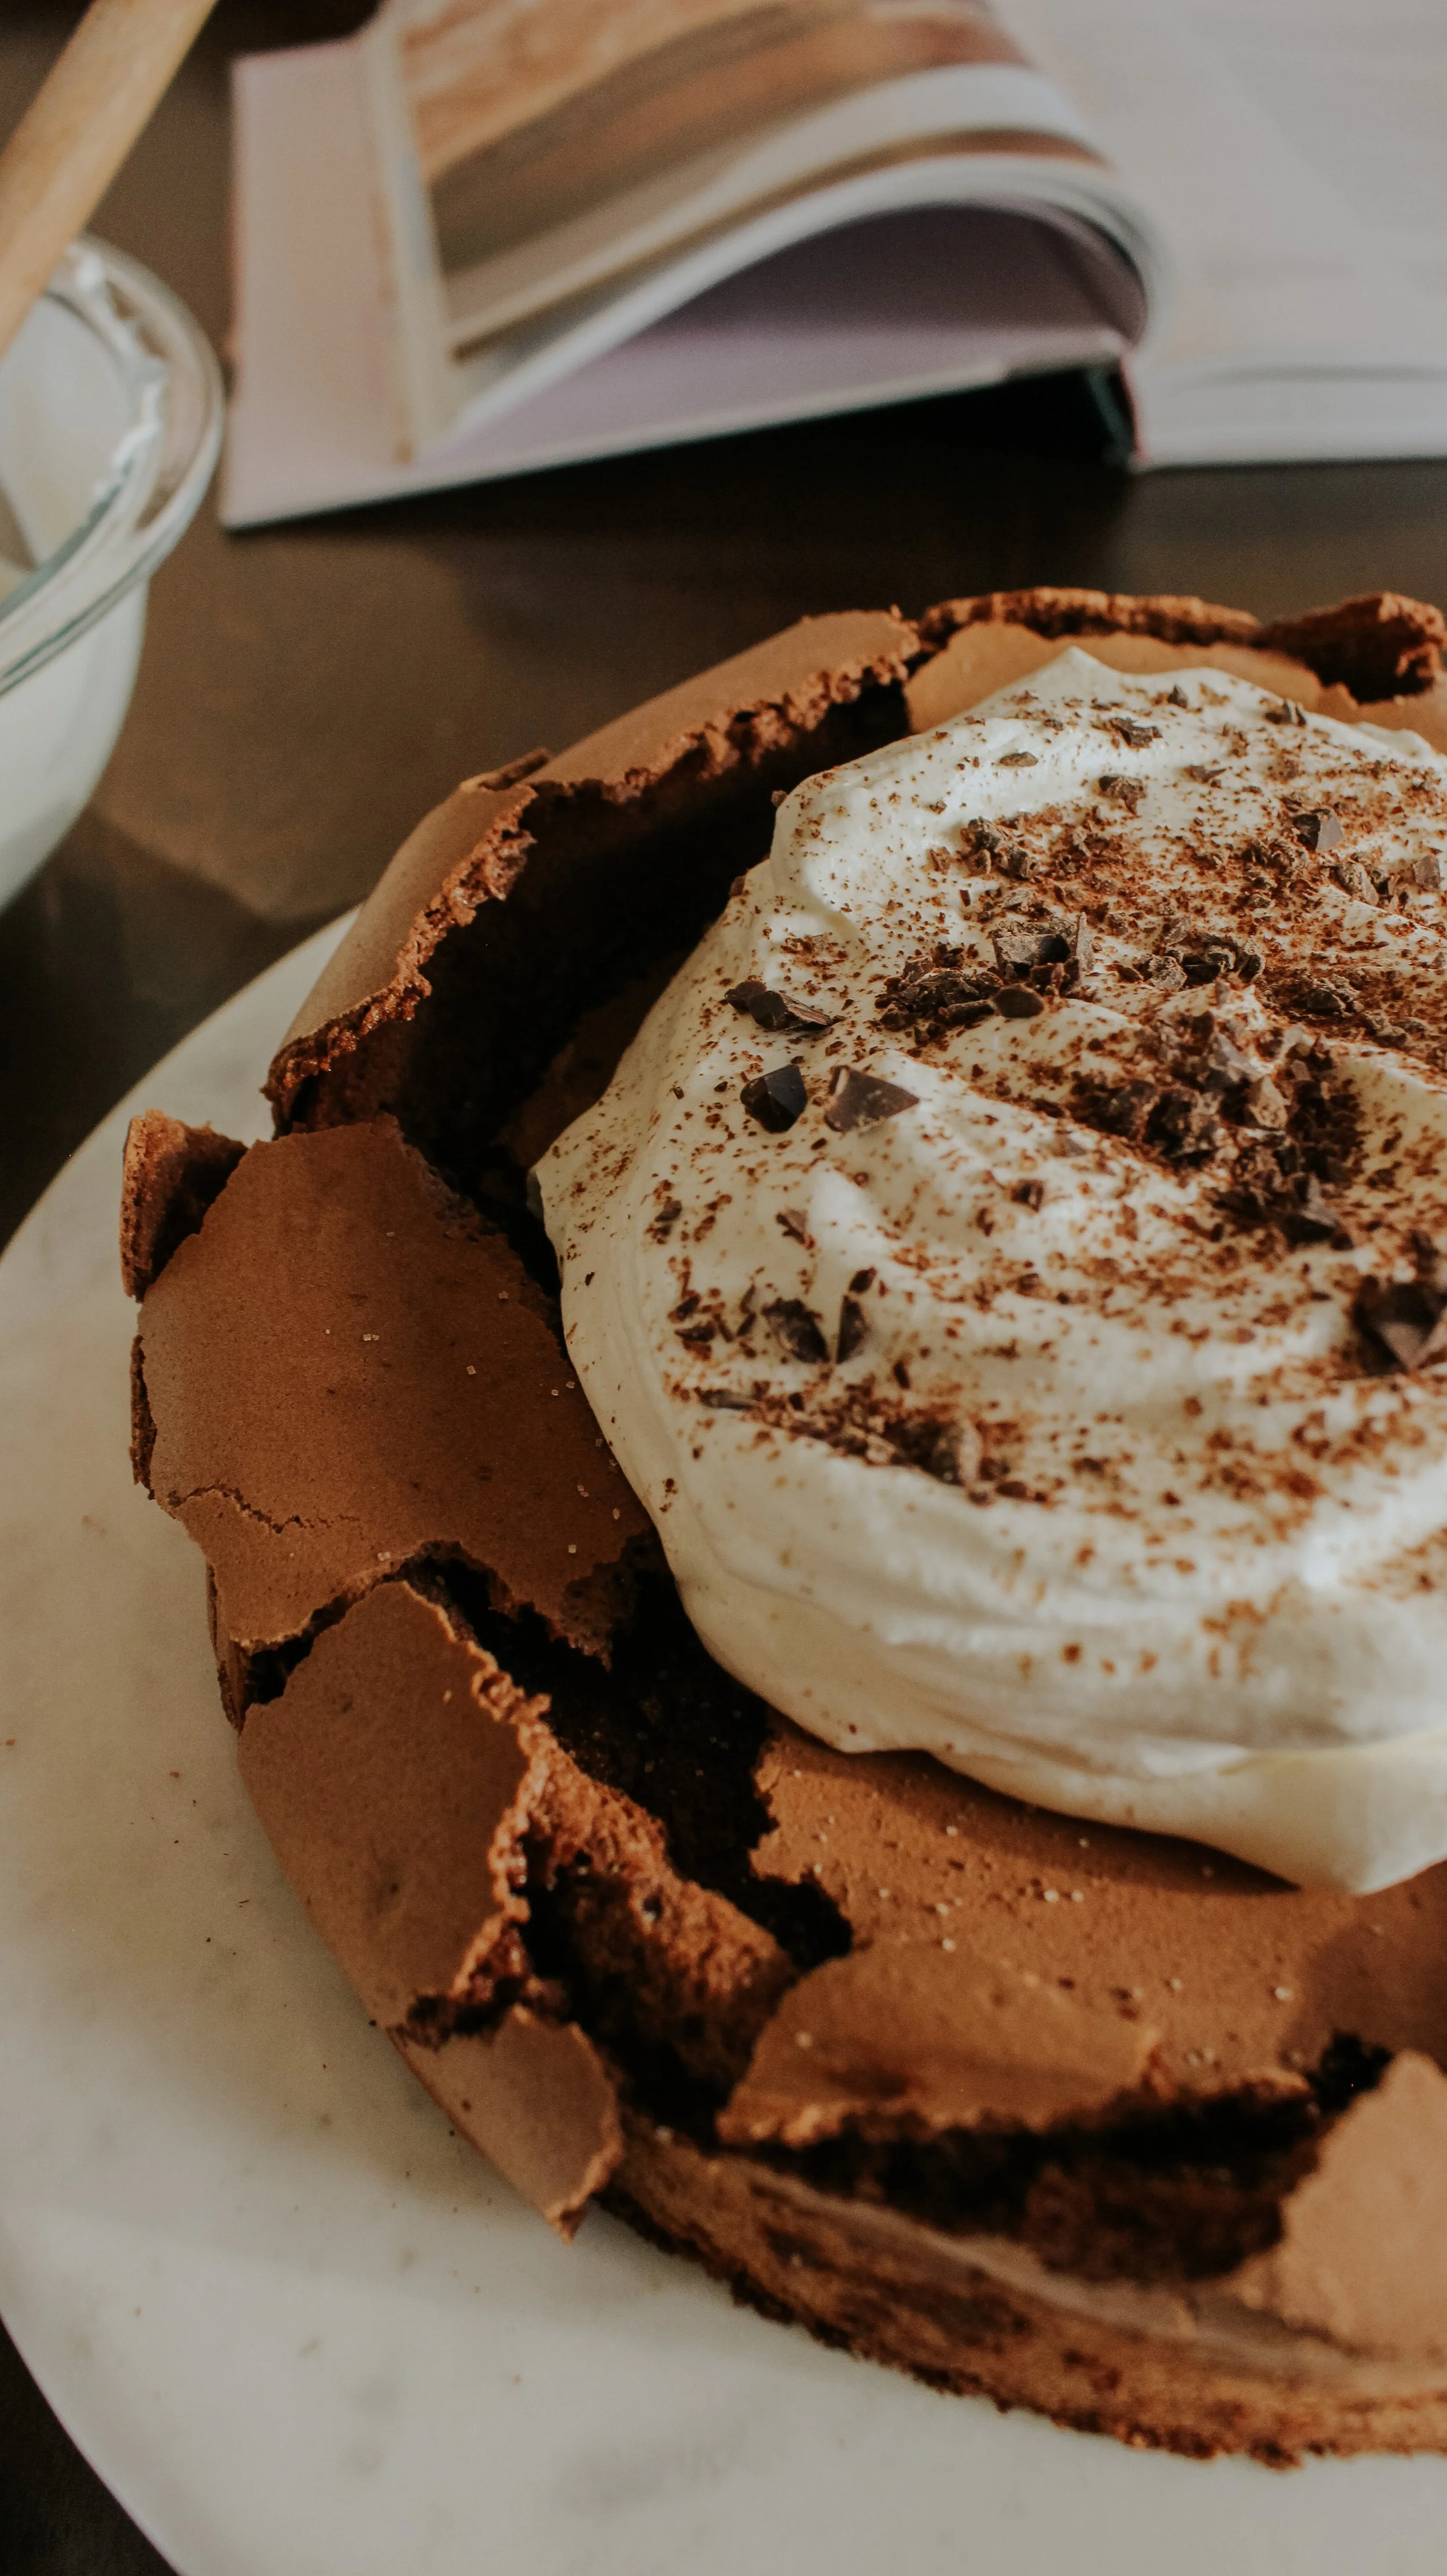
2. Using a spatula, fill sunken center of cake with whipped cream. Dust the top lightly with cocoa powder and chocolate shavings.
3. Run the tip of a knife around the edge of the cake, carefully remove the sides of the pan, and cut into wedges to serve.

A few side notes.
I kept this cake several days and when it wasn’t being served I simply stored it in the refrigerator. I haven’t tried freezing it—it was eaten really fast between my friends and I—but you can freeze it!
I ended up baking my cake closer to 45 minutes. I’ve noticed my new oven takes a little longer to get the job done. I did the ole toothpick trick and once it came out clean I took the cake out of the oven.
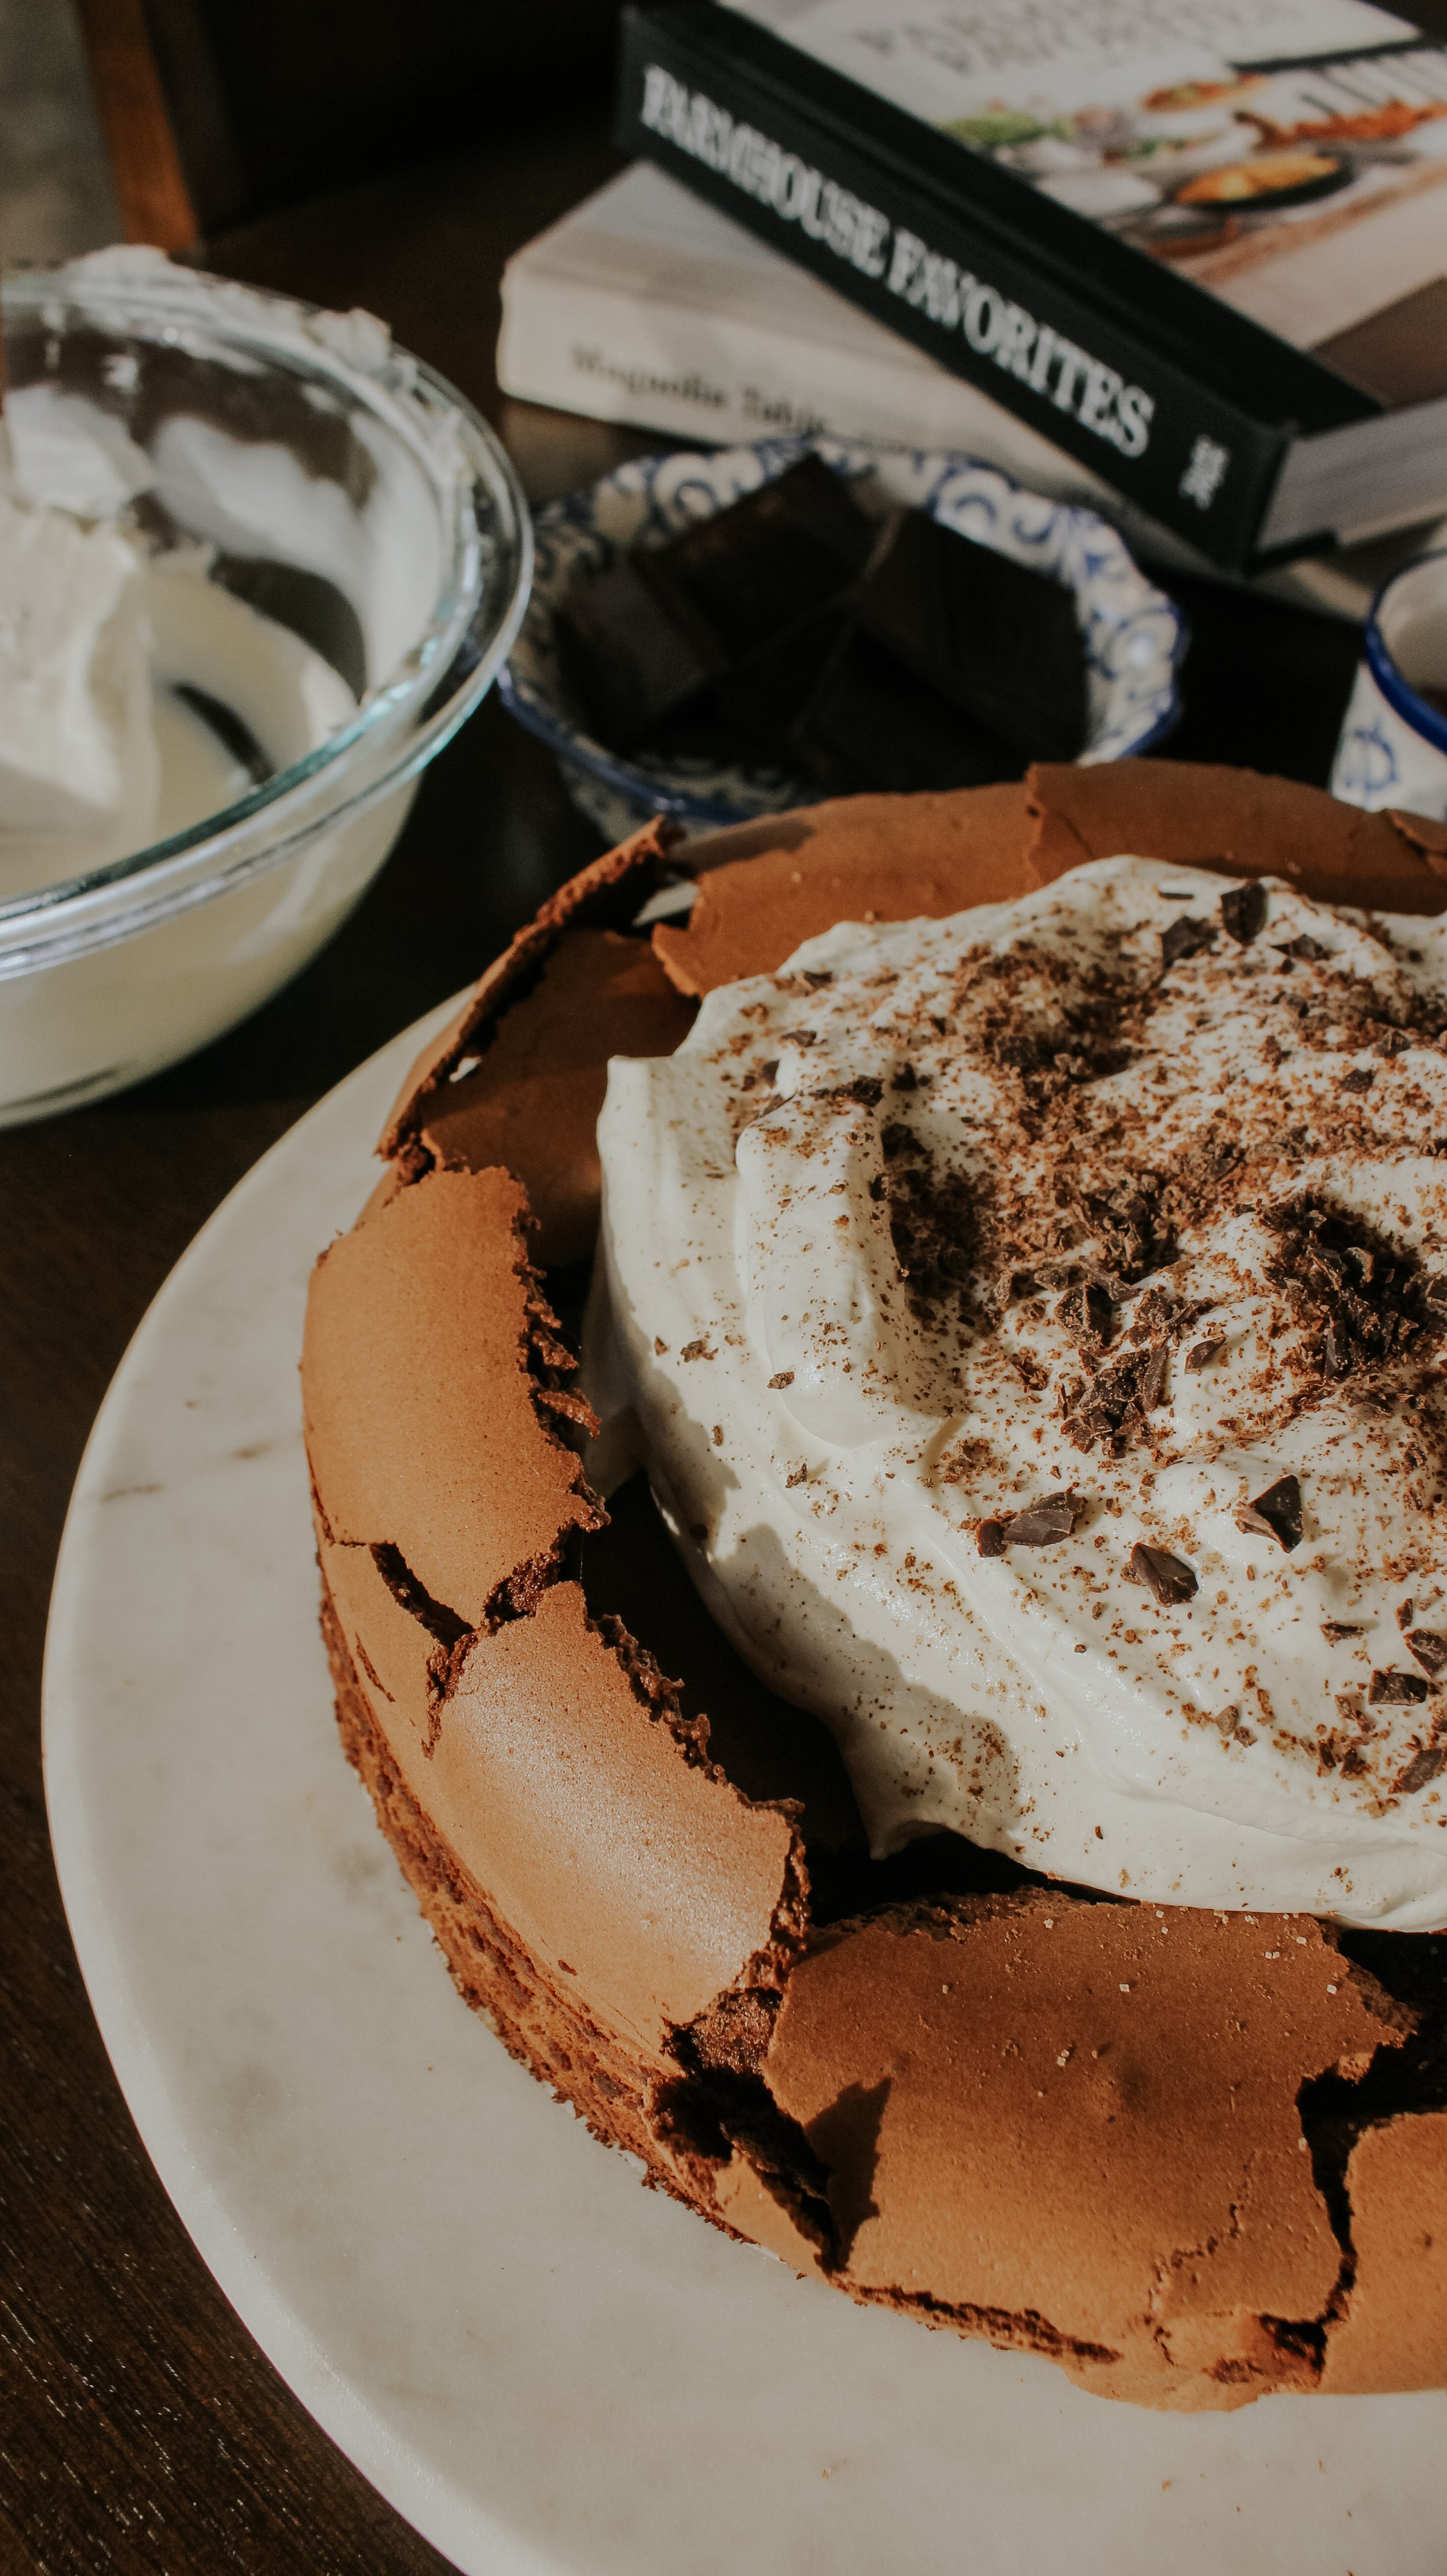
The cake naturally cracked in the oven and then as it cooled it also fell/cracked a little more. I wanted a few more cracks, so I took the end of a fork and light tapped the top to create a few more cracks. One neat thing about this recipe is it is meant to look imperfect. If there are a few more cracks than you would like, then just cover it up with the fluffy whipped cream. Whipped cream fixes everything!
I hope you enjoy this cake, my friends! This is one I will keep in my baking rotation. It was a hit with all my friends and truly one of my favorite cakes that I’ve ever made.