My Mid-Century Dining Set: Before And After
Earlier this year I purchased the most beautiful dining table and chairs. It was everything I wanted style wise. When I went to pick it up—and really look at it for the first time, I realized it would need some work. It wasn’t until I got it home when I realized just how much work it would actually need. I was a little nervous because I wasn’t 100% sure if I would be able to refinish it because the top of the table appeared to be veneer. Honestly, I didn’t even know if it was a true mid-century set. After lots of researched I discovered it was indeed a true mid-century gem crafted by Broyhill which is the parent company of Lenoir Chair Company. To say I was excited was an understatement.
Fast forward several months and I was making an unexpected move from Birmingham, Alabama to Mobile, Alabama. I knew if I was planning to refinish the set, that the time was now. In Birmingham I had a work space and I knew once I moved there was no way I’d be able to refinish the set. This project had to be done outside and required a lot of space. Definitely not something I could take on in my new apartment.
I thought the refinishing project would be super easy and would take no time at all. I mean, it just required a little bit of sanding, staining and sealing, right? WRONG. Very wrong. Honestly, if I knew what I was getting into, I probably wouldn’t have refinished my dining table and six chair. I definitely wouldn’t have started on it two weeks before moving. Don’t do what I did. Learn from my mistake and don’t refinish a dining set in the midst of moving, switching jobs, launching a website, and all the things. I promise it will be more enjoyable that way.
Like I said, I thought refinishing would be super easy. Little did I know that if I wanted to do it right, it would require a lot more research, time, and commercial grade products, and I am all about doing things right. I don’t like cutting corners and I believe things are worth doing right and with excellence. I truly valuable quality and good craftsmanship, so I quickly realized this was going to require a different route. That it would require products that you couldn’t just find at your local hardware store. That it would require much more time that I originally thought. Thankfully, my brother Cameron was in town to help. I’ve said it a hundred times, but I literally couldn’t have done it without him. He was the one that found the most helpful resource and the mentor that walked us through the entire process. He spent countless hours helping me refinish the furniture and was there to encourage me along the way. SO thankful.
If you are looking to refinish mid-century furniture then I HIGHLY recommend joining this Facebook group— The Mid Century Modern Furniture Refinishing Resource —that Cameron found. It was a game changer for me. Then, I highly highly recommend paying $15 to subscribe to the private group associated with the Facebook Page I just mentioned— Furniture Refinishing 101 With Bob Kennedy. You pay $15 monthly, but you can cancel when you no longer need assistance from Bob and the other members. Truly the best $15 I’ve ever spent. Bob literally walked me through the entire process step-by-step. This man knows what he’s doing. He is a well of knowledge and is a professional—he refinishes mid-century furniture for a living. Check out Bob’s business page on Instagram “Atomic Age Modern”. Seriously, spend the $15— it is 100% worth it and will make the process much easier and faster. You can also refinish your furniture with confidence knowing that a literal professional is walking you through it. After buying the table, the necessary refinishing products and investing so much time and energy into it, I just had to rest in the fact that he was mentoring me through it and knew what he was doing. I had no grid for this and had no idea what each step was supposed to look like. I just had to trust him even when I wasn’t quite sure what the heck I was doing and when a step didn’t appear to be “right”. Turns out he really knows what he’s doing. It would have been a disaster without him. I would have just used low grade products from a local hardware store—not even realizing they were low grade—and would have simply gone off the advice from others. Not that they weren’t well-meaning and knowledgeable, but refinishing mid-century furniture is a whole ‘nother ball game.
So here’s a little recap:
1) Don’t refinish furniture while in the process of moving.
2) Join this FB Group: Furniture Refinishing 101 With Bob Kennedy
3) Don’t give up. It WILL be worth it.
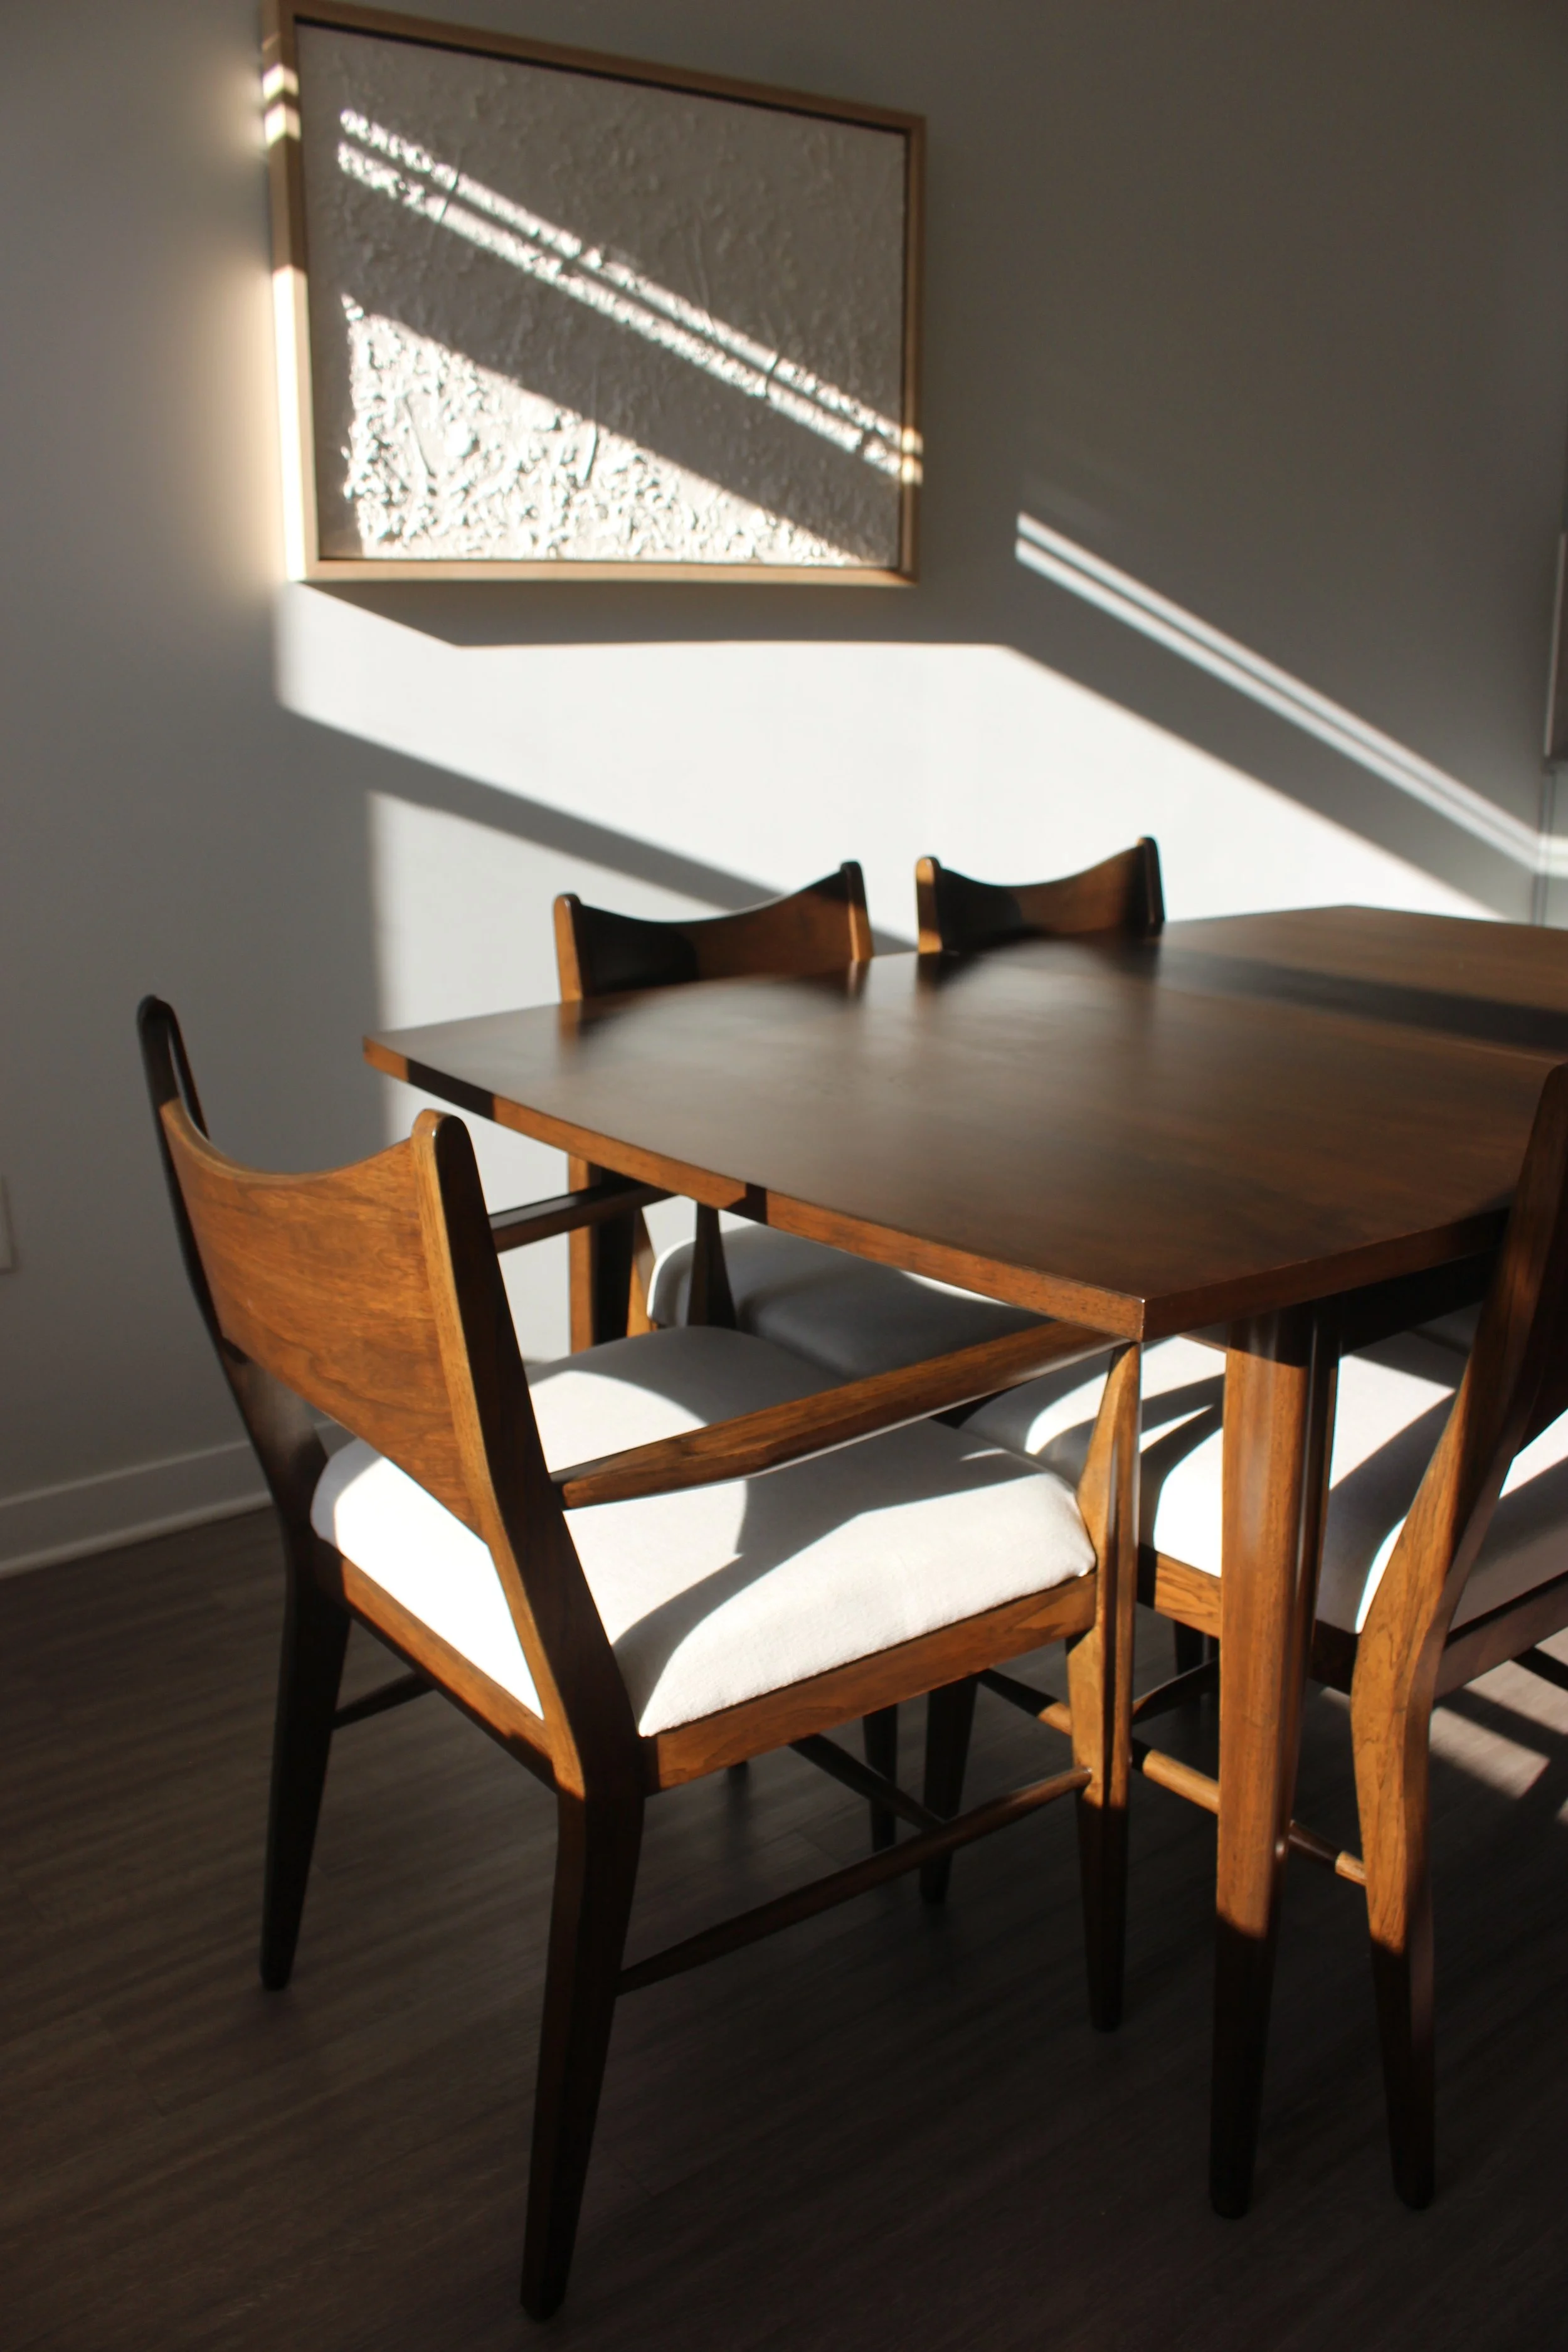
Before
My Broyhill Saga dining set needed some serious love. It was covered in deep scratches, countless (and very large) heat and water stains, chips, and wobbly legs. Let’s also take a second to talk about the fabric on the chairs—it had to go.


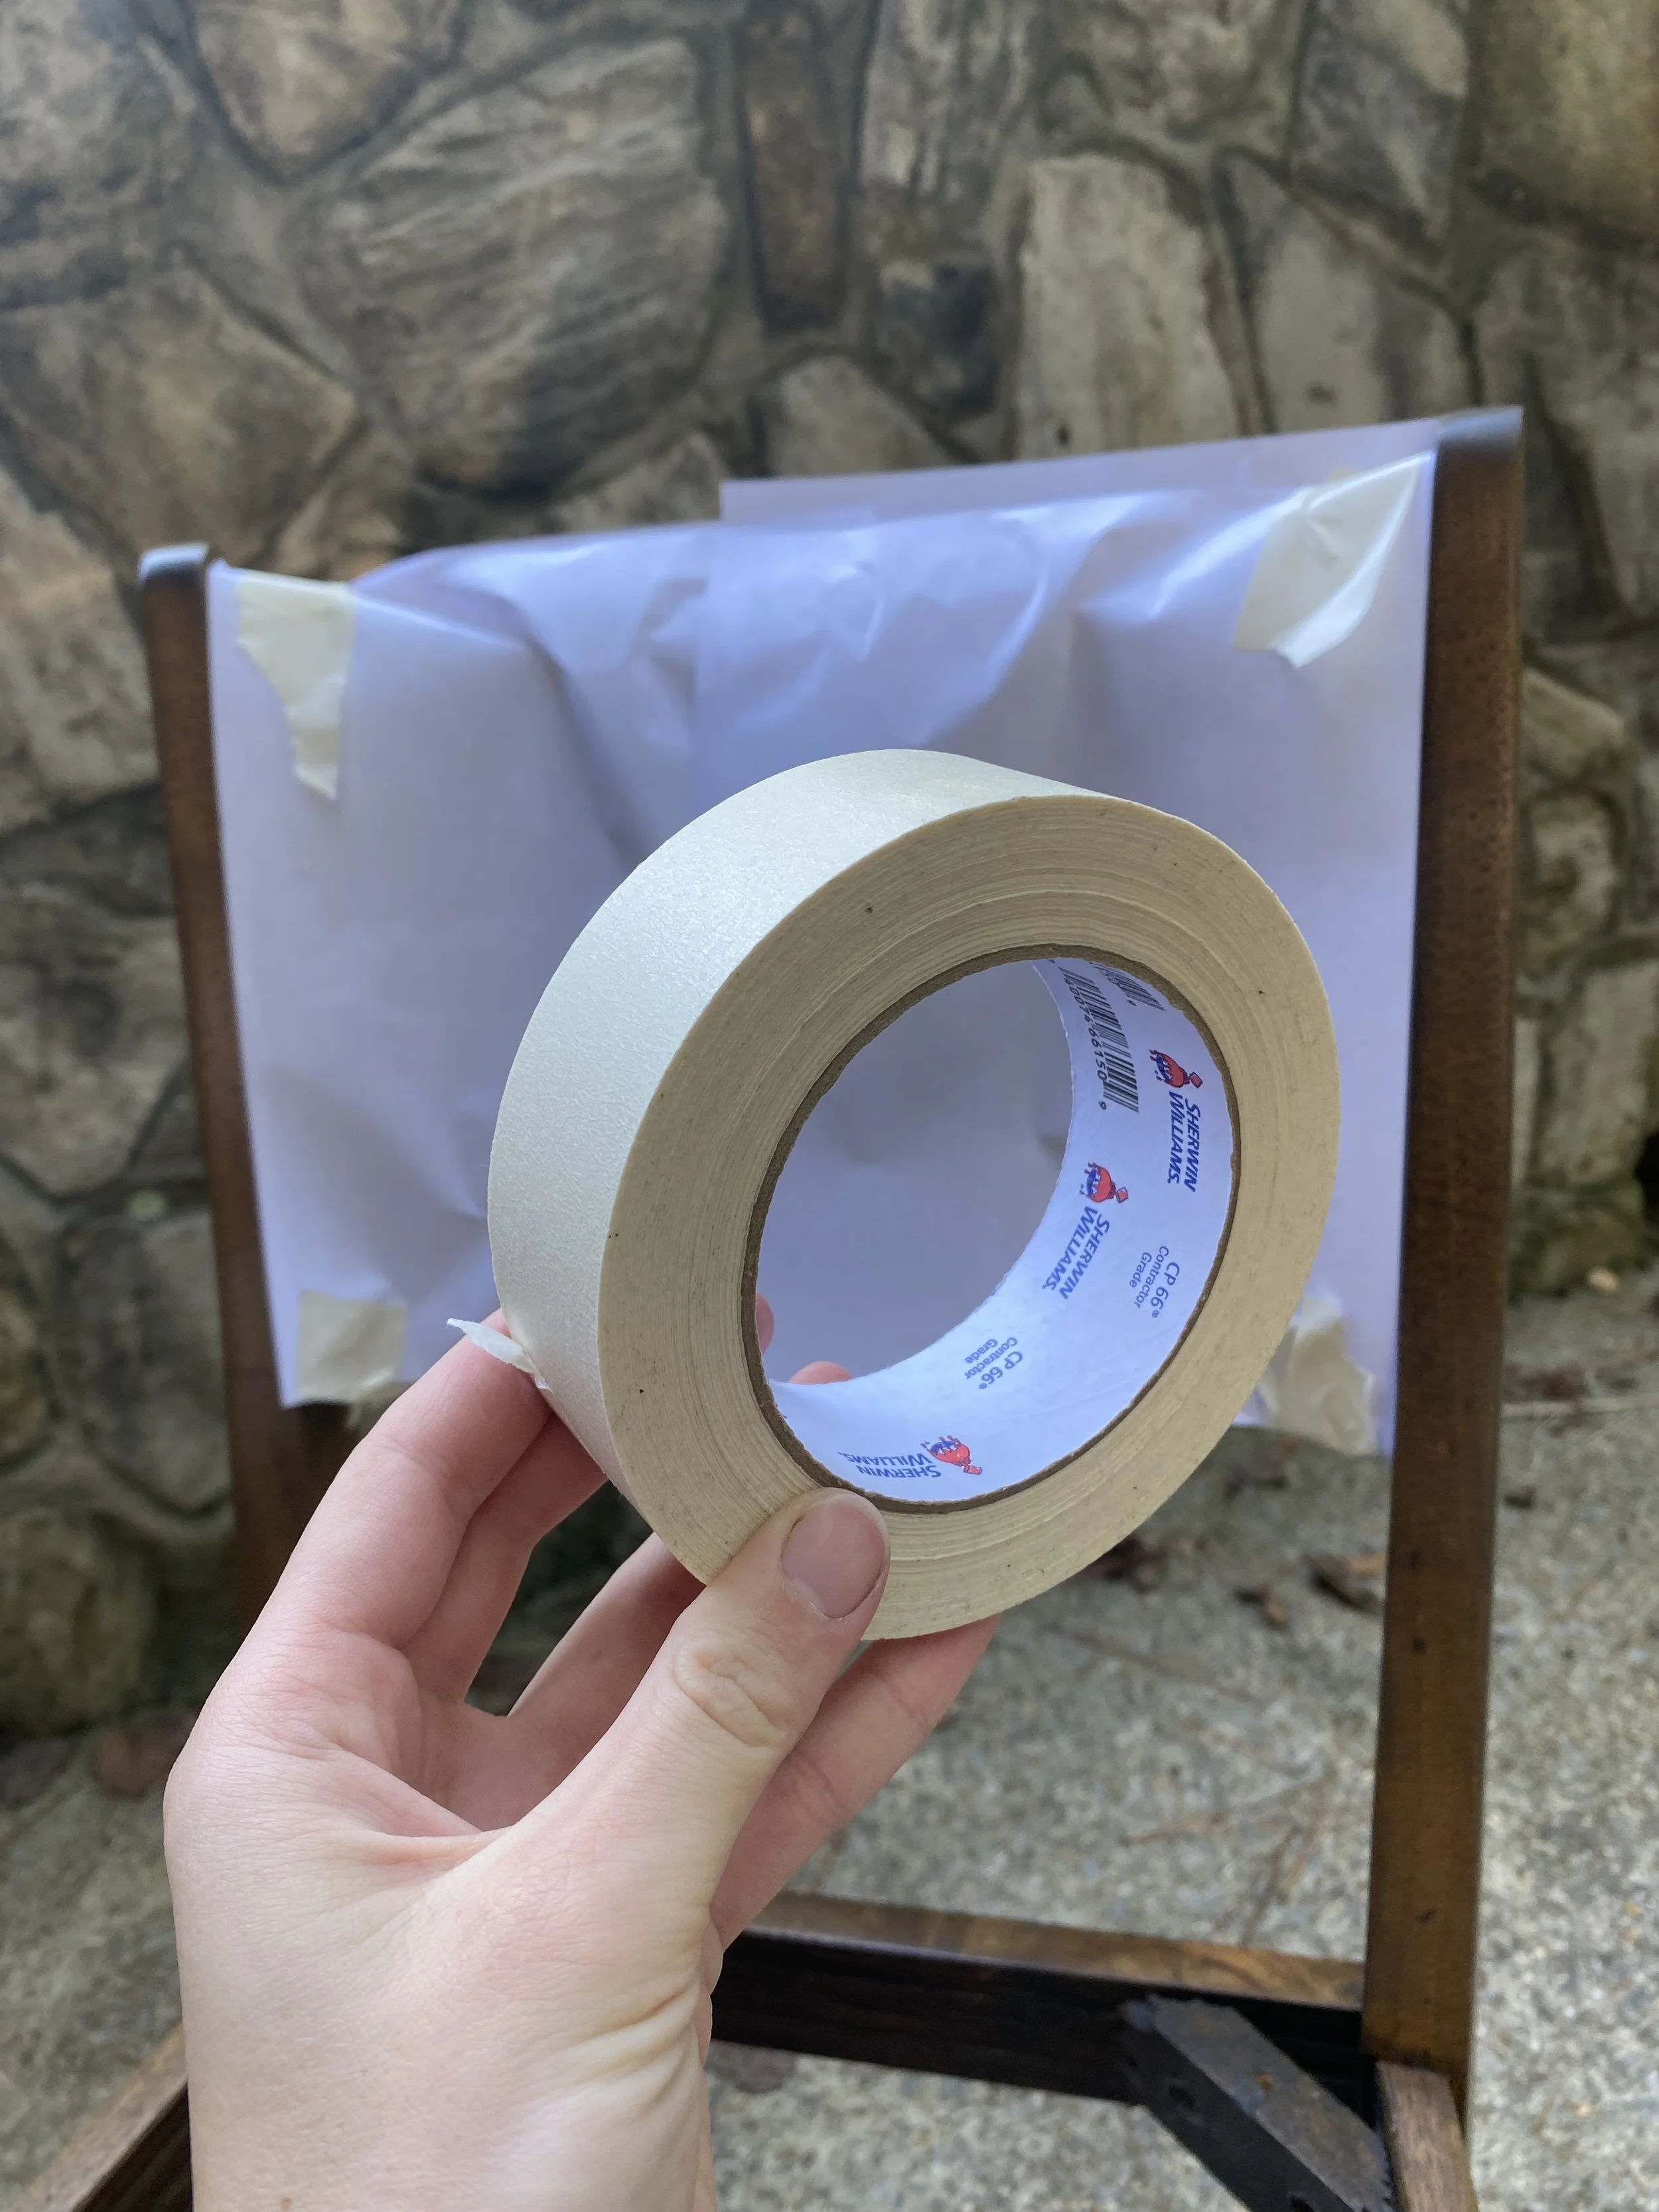
The Process
Here is just a small peek at the process of refinishing my Broyhill Saga dining table and chairs. This blog post is simply to show the before, during and after pics of this refinishing project, so I won’t be sharing the step-by-step process, a list of products to buy and every tip and trick to getting the job done, but I will reiterate over and over how life changing it was to join Bob Kennedy’s FB Group. He will walk you through your unique process, give you a list of what products to buy for your furniture and to champion you along the way. If you would like to see more of my behind the scenes pictures and videos, click here to watch my “MCM Dining Set Highlight” on Instagram.
I knew I said I wasn’t sharing a list of things you need, but I did want to share a few practical items that you will need alongside the list of finishing products Bob will share with you.
A few practical necessities:
Orbital Sander - I have this Dewalt orbital sander and love it. I’ve had it for years and it’s still as good as new.
Polyester Nitrile Dipped Gloves - Take my word for it. You need these working with commercial grade finishing products. You’re going to be dealing with incredibly strong chemicals. Protect your hands!! These chemicals will hurt and burn your hands.
Natural Fiber Cloth Rags (TShirt Rags) - You’re going to want to get the 50 count if you’re planning on doing a table and chairs. These bad boys last and hold up well, but you’re still going to need a ton.
Fabric for reupholstering your chairs. I used this Crypton fabric which is a stain resistant and ideal for dining chairs.
When Bob give you the list of Mohawk Finishing Products you will need for your project, here are two websites I highly recommend purchasing them from. I did a lot of research trying to find a good website that didn’t charge $100+ for shipping. These websites had the best prices, most in-stock items and great customer service. These companies also had my items shipped and delivered incredibly fast. I had most of my products delivered in under 2 days of purchasing and the rest within 4 business days. Super great since I was on a serious time crunch.


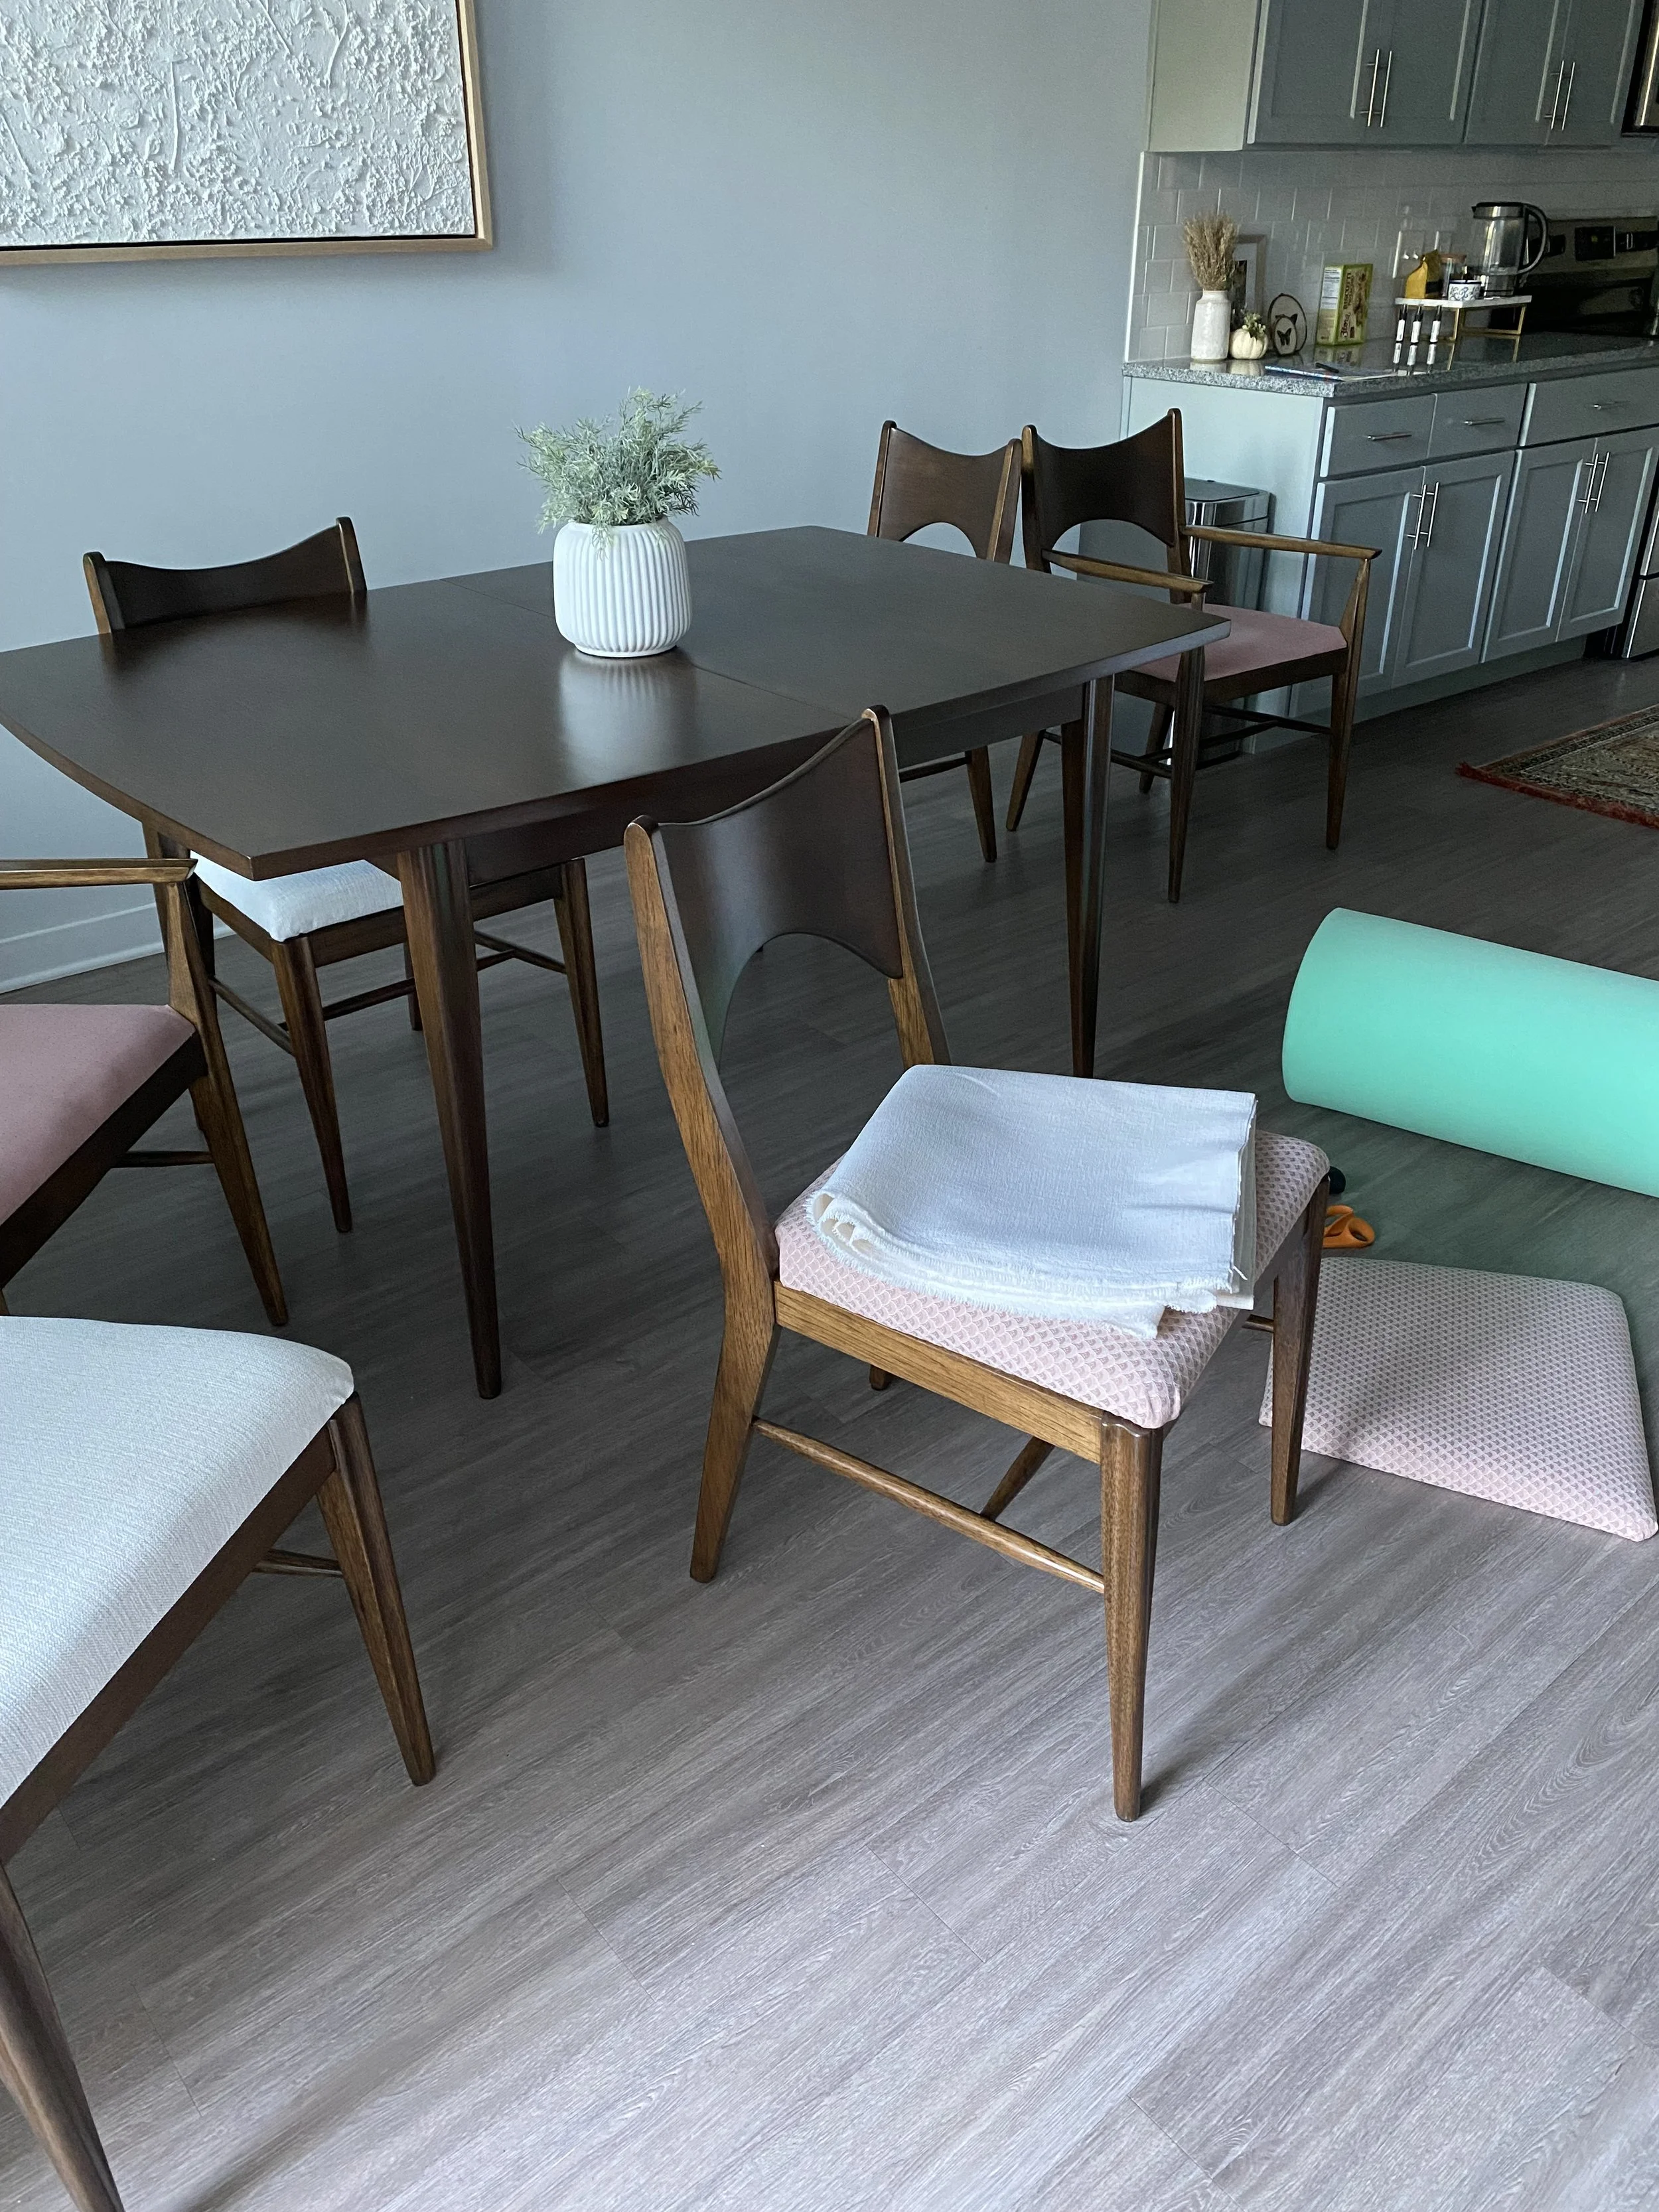
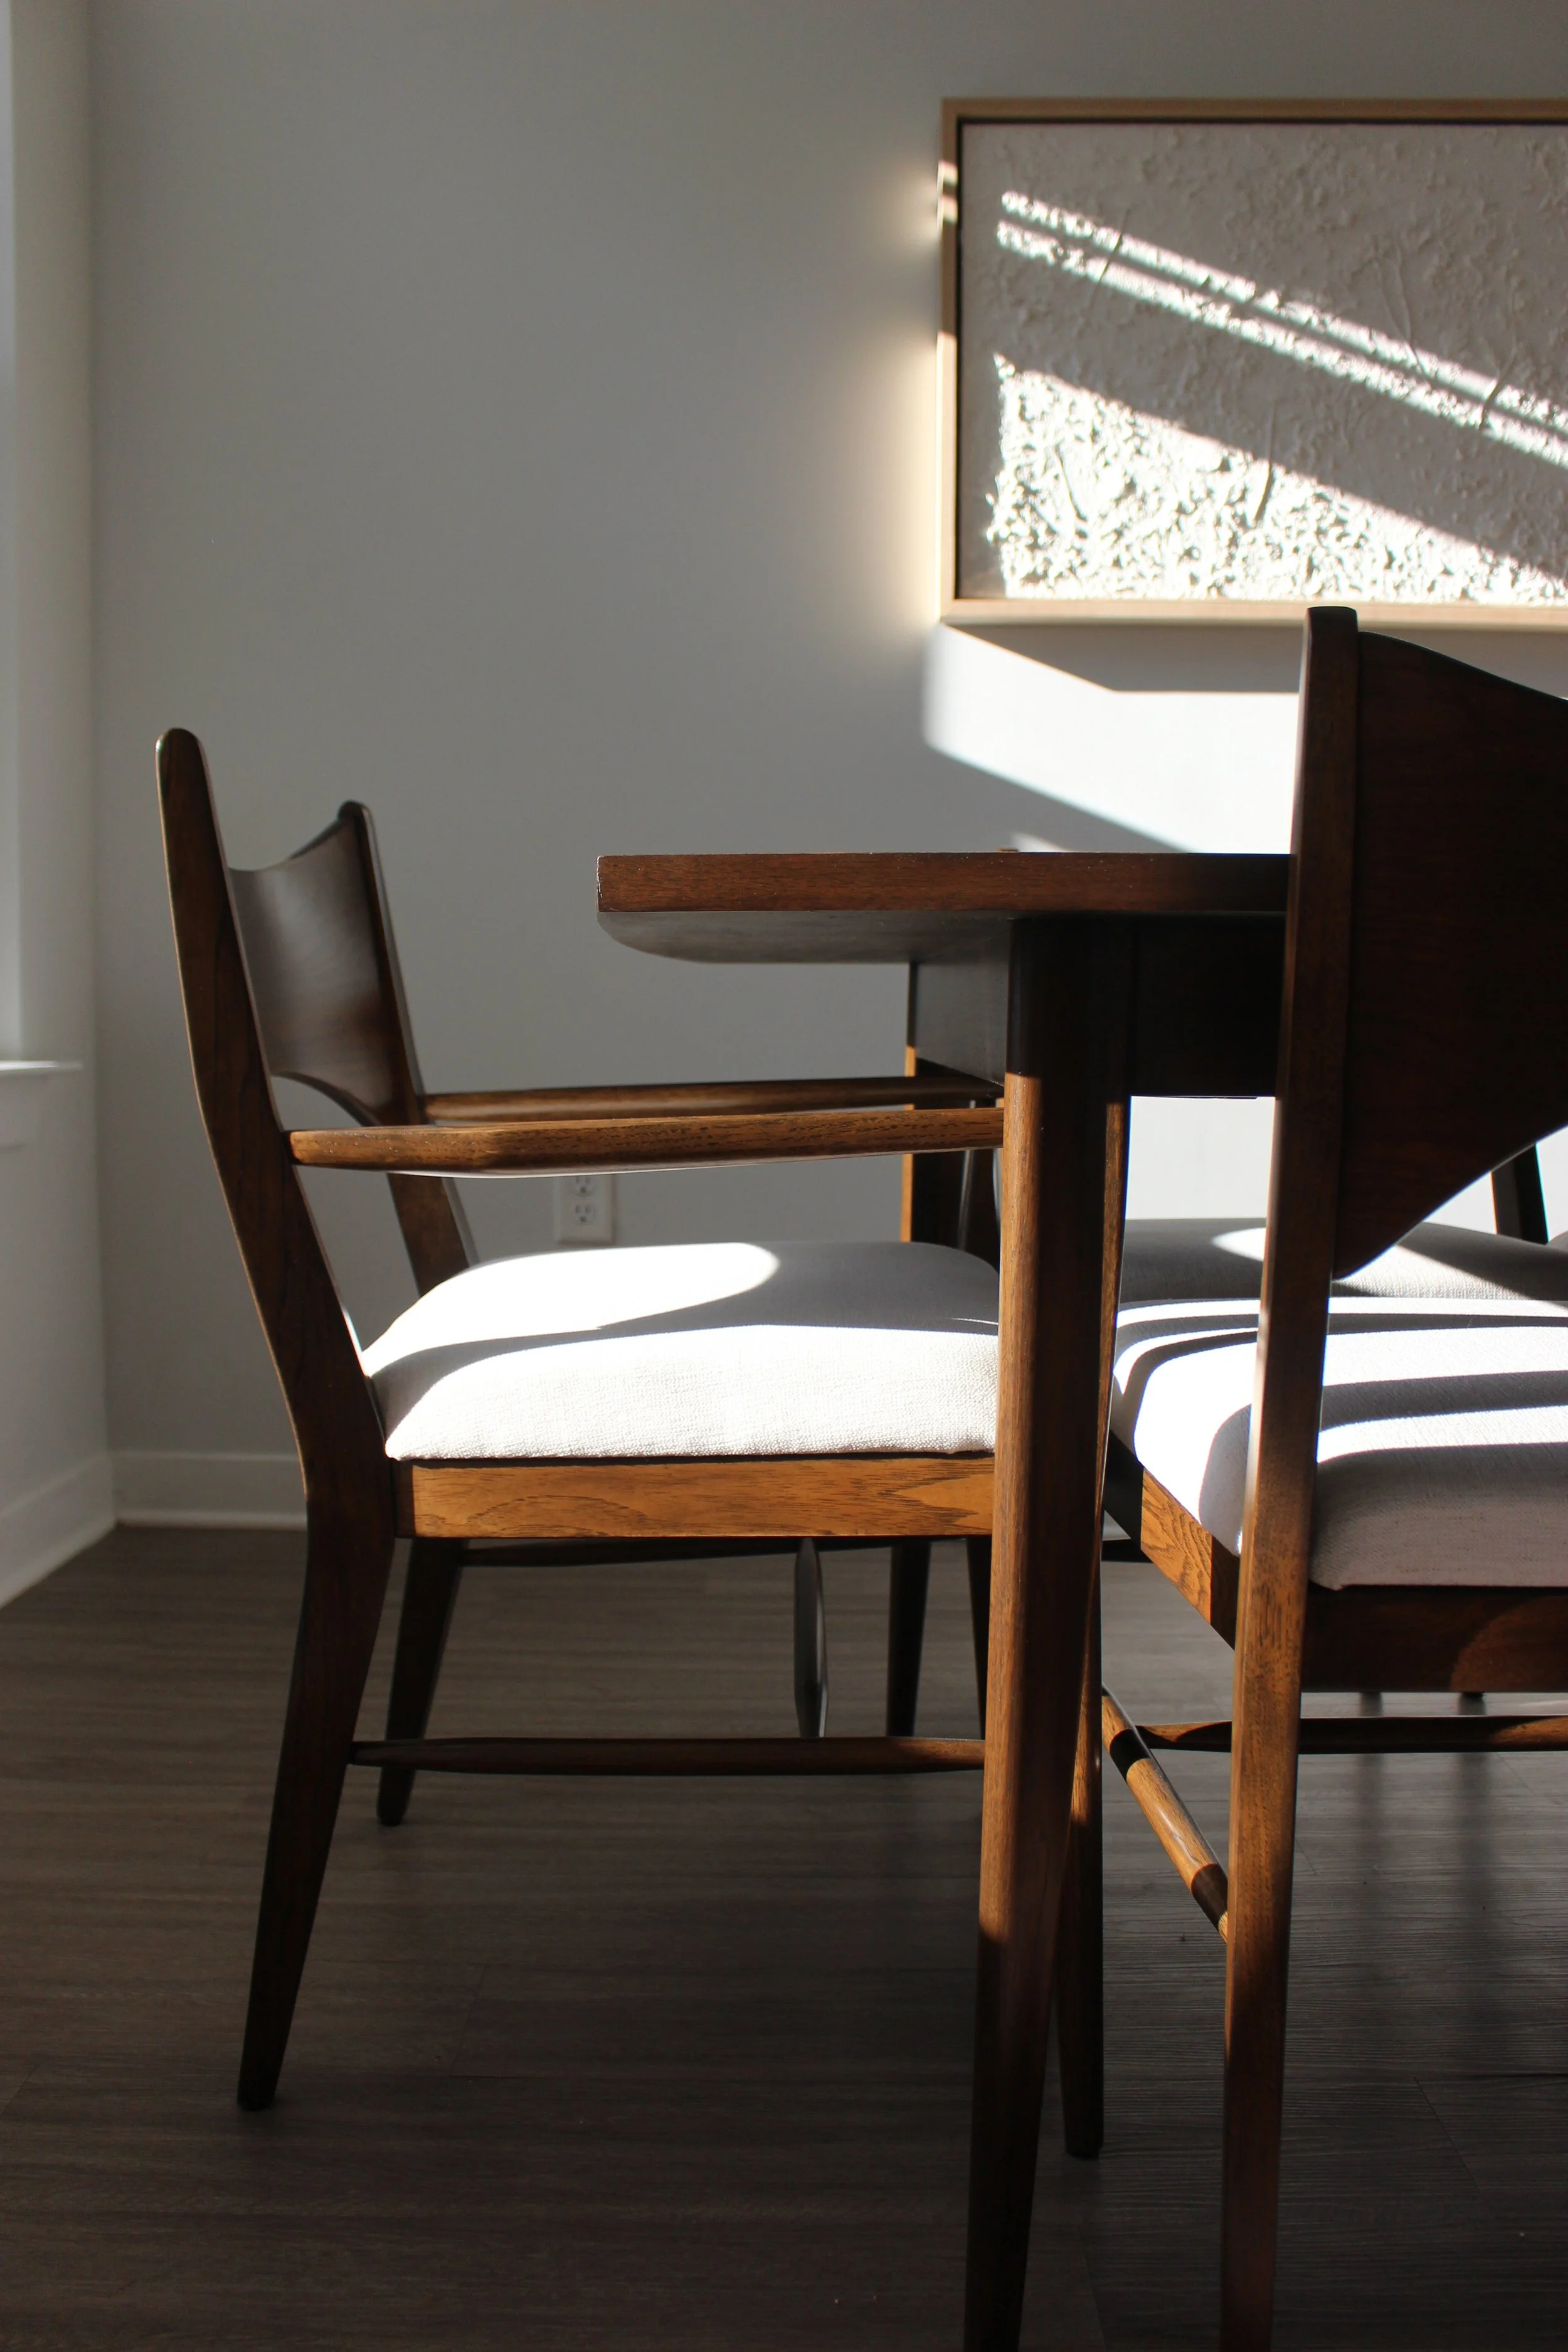
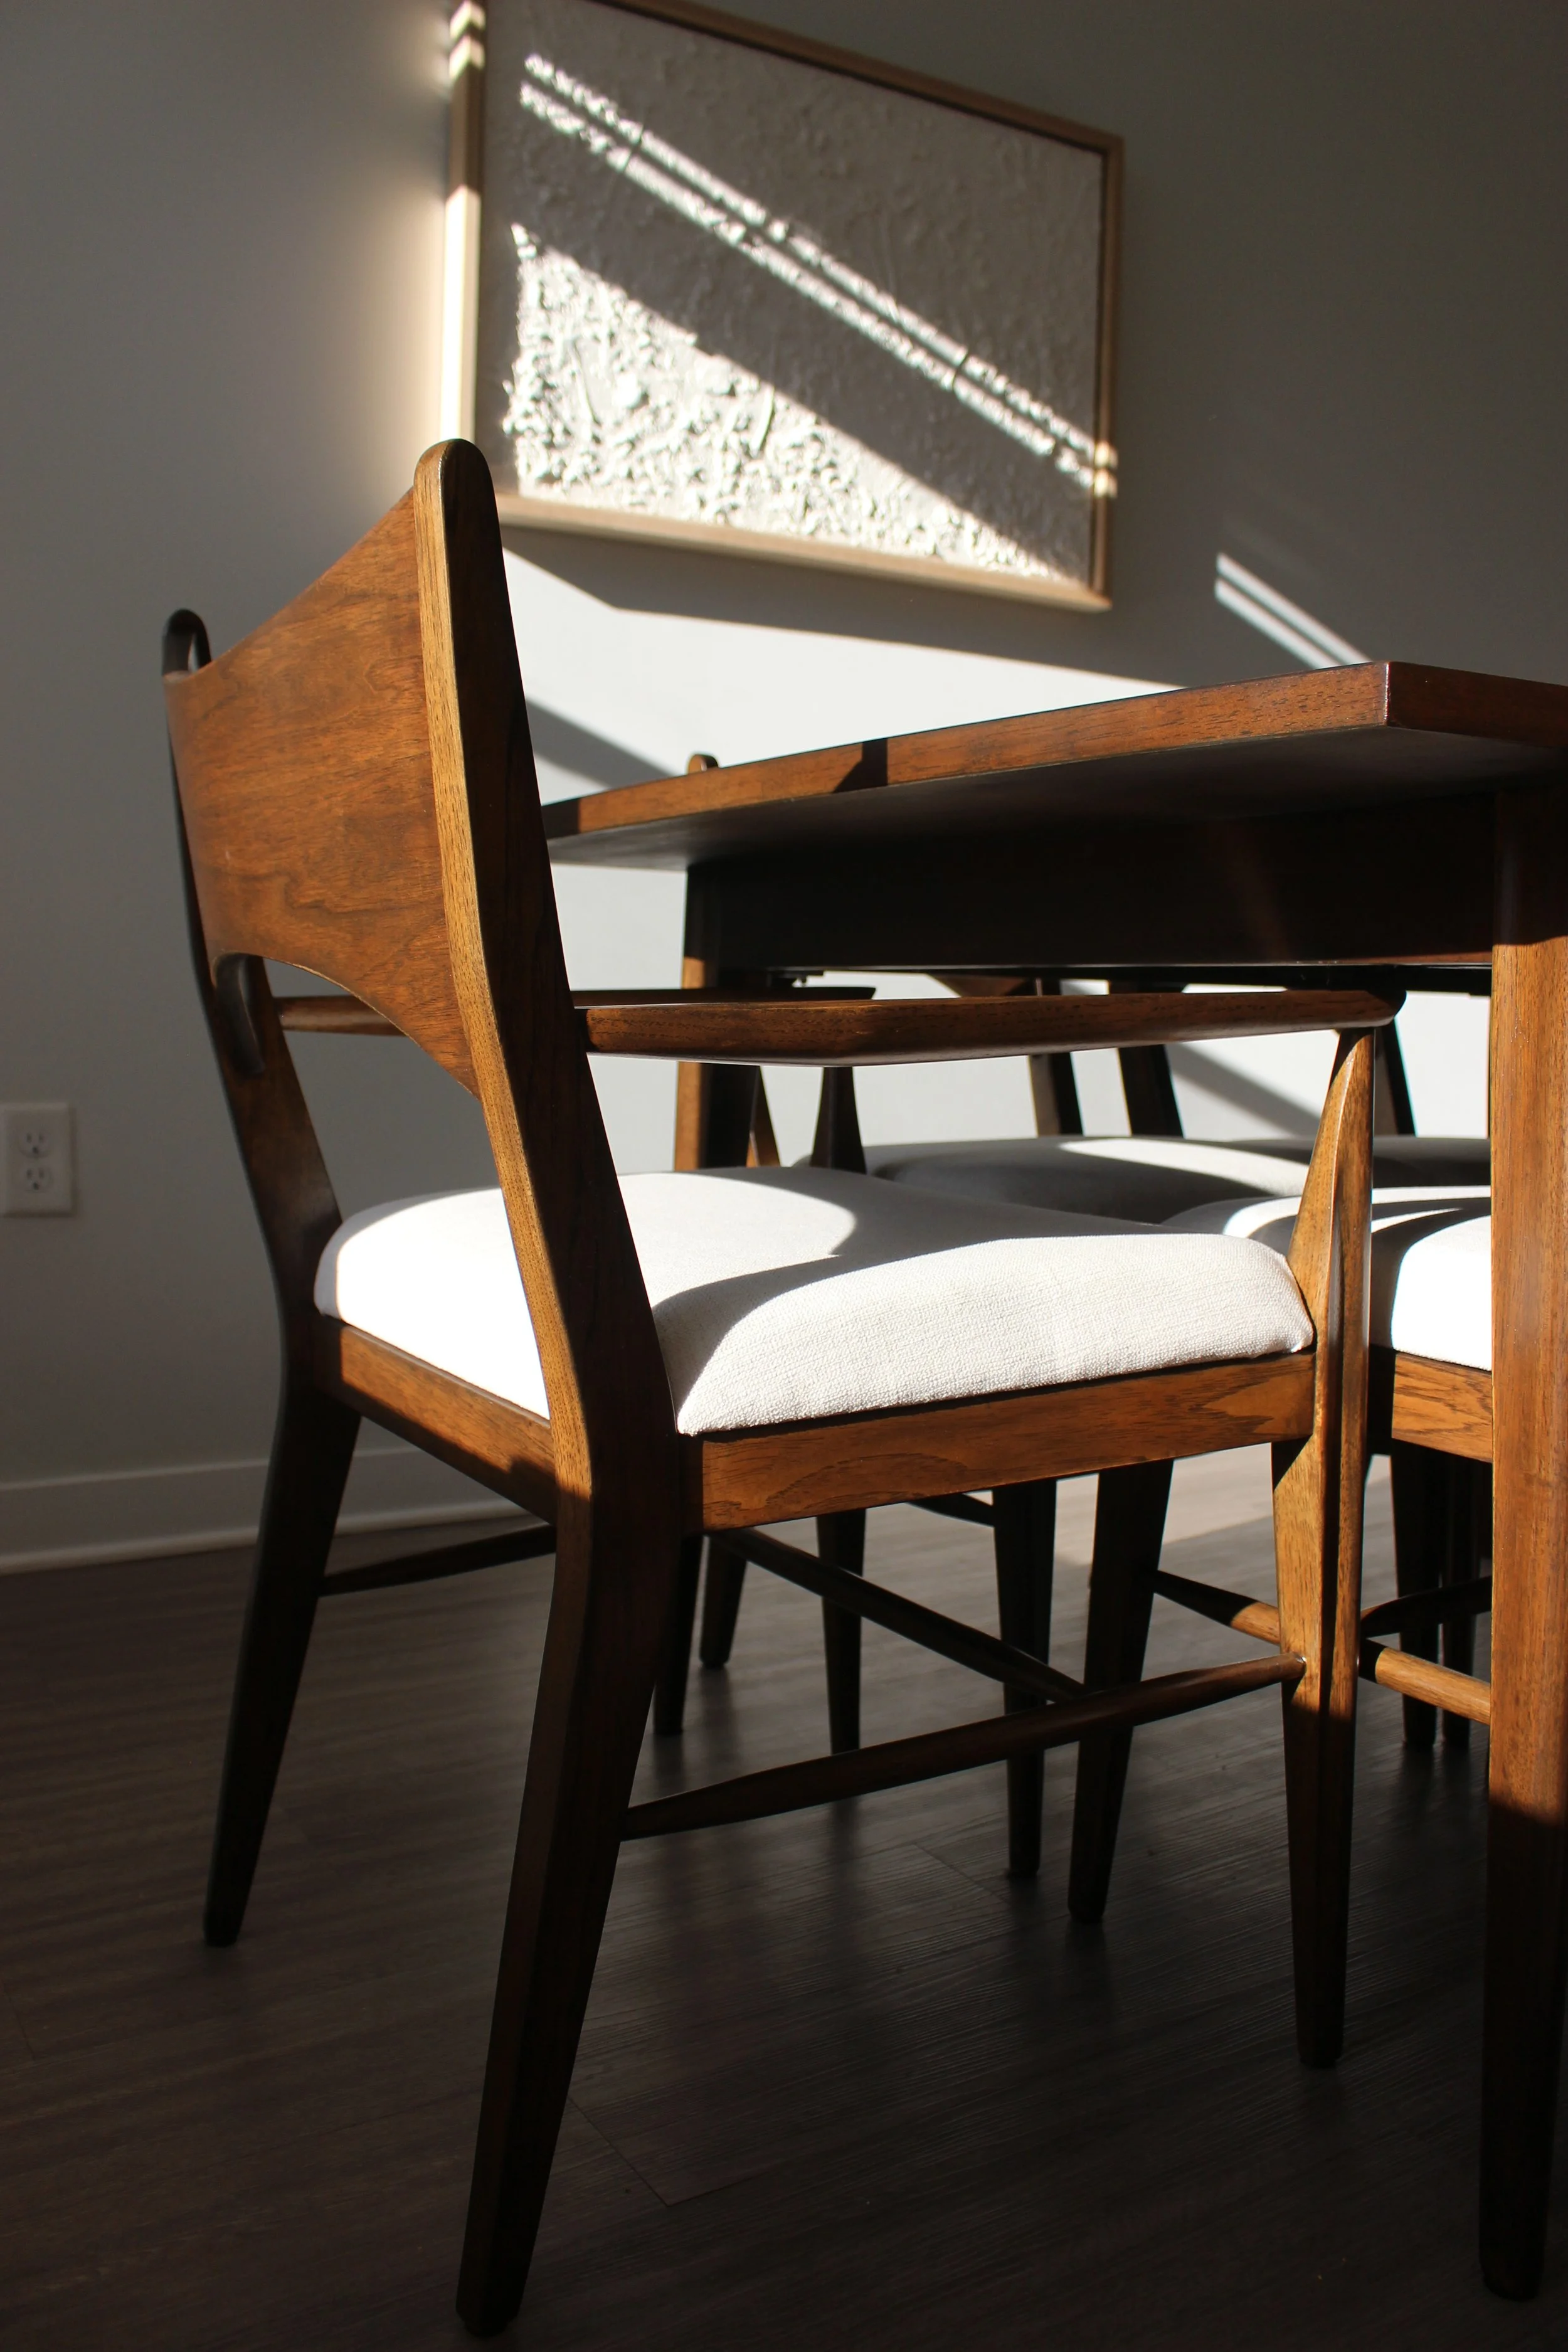
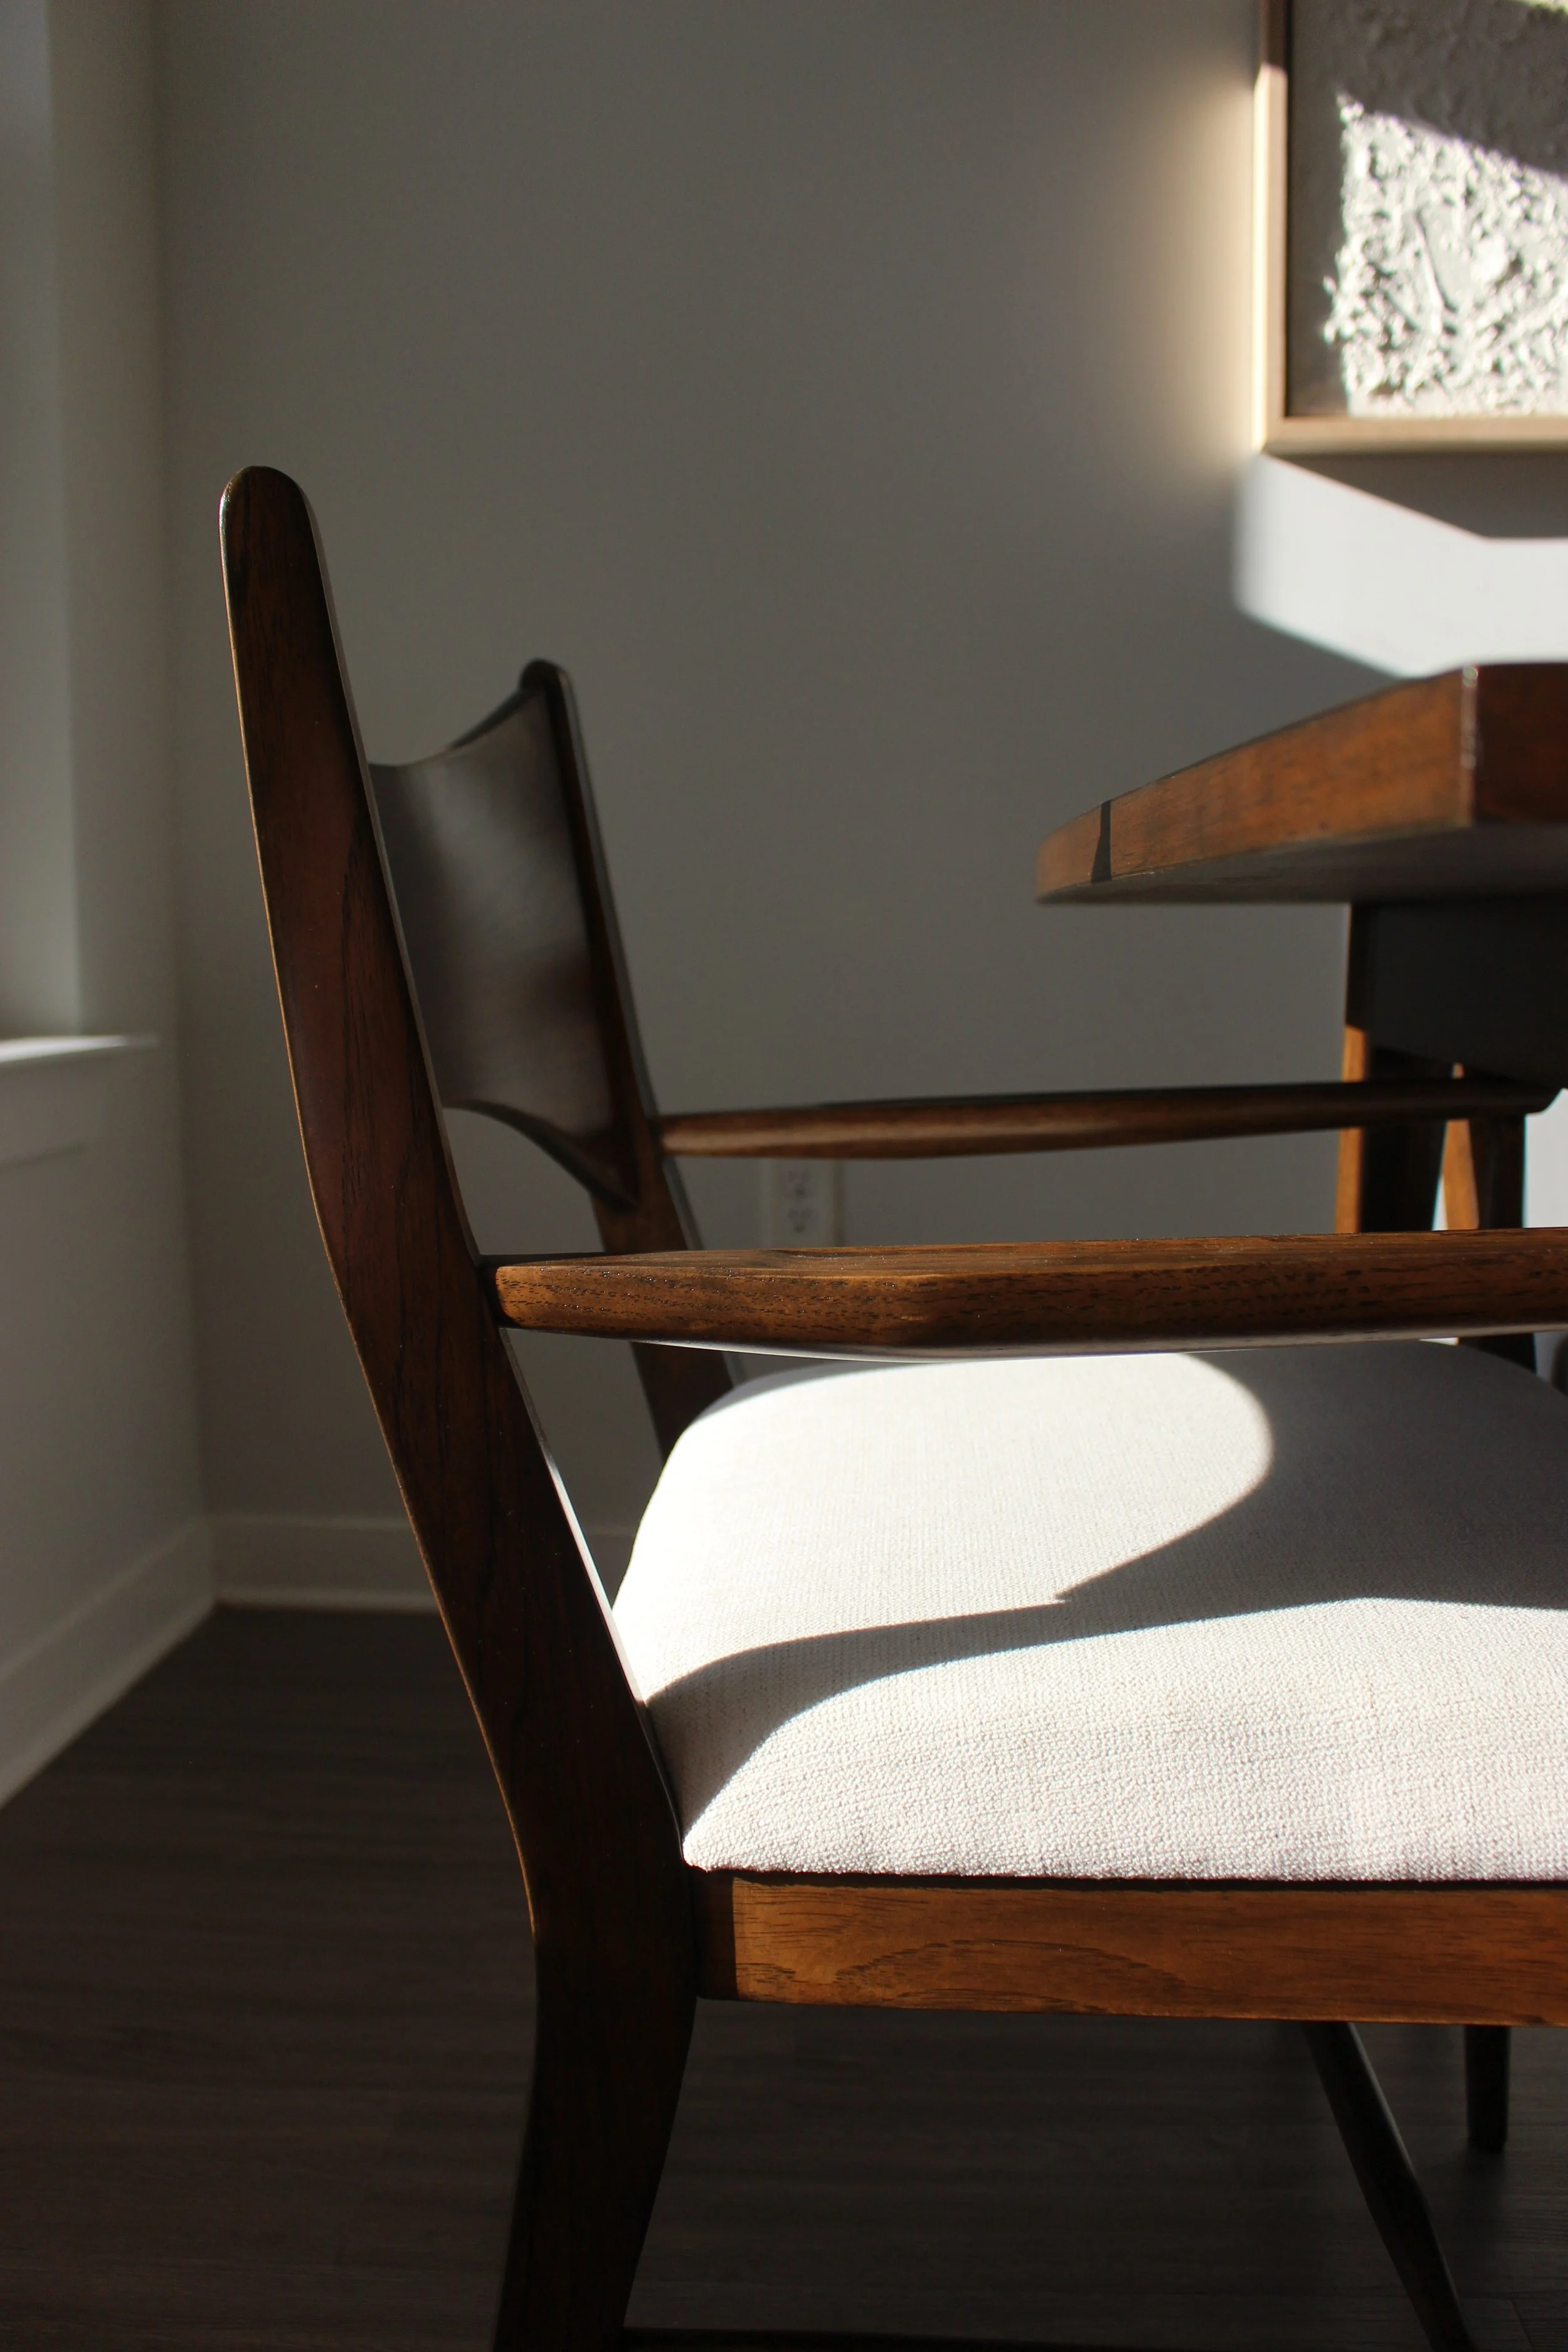
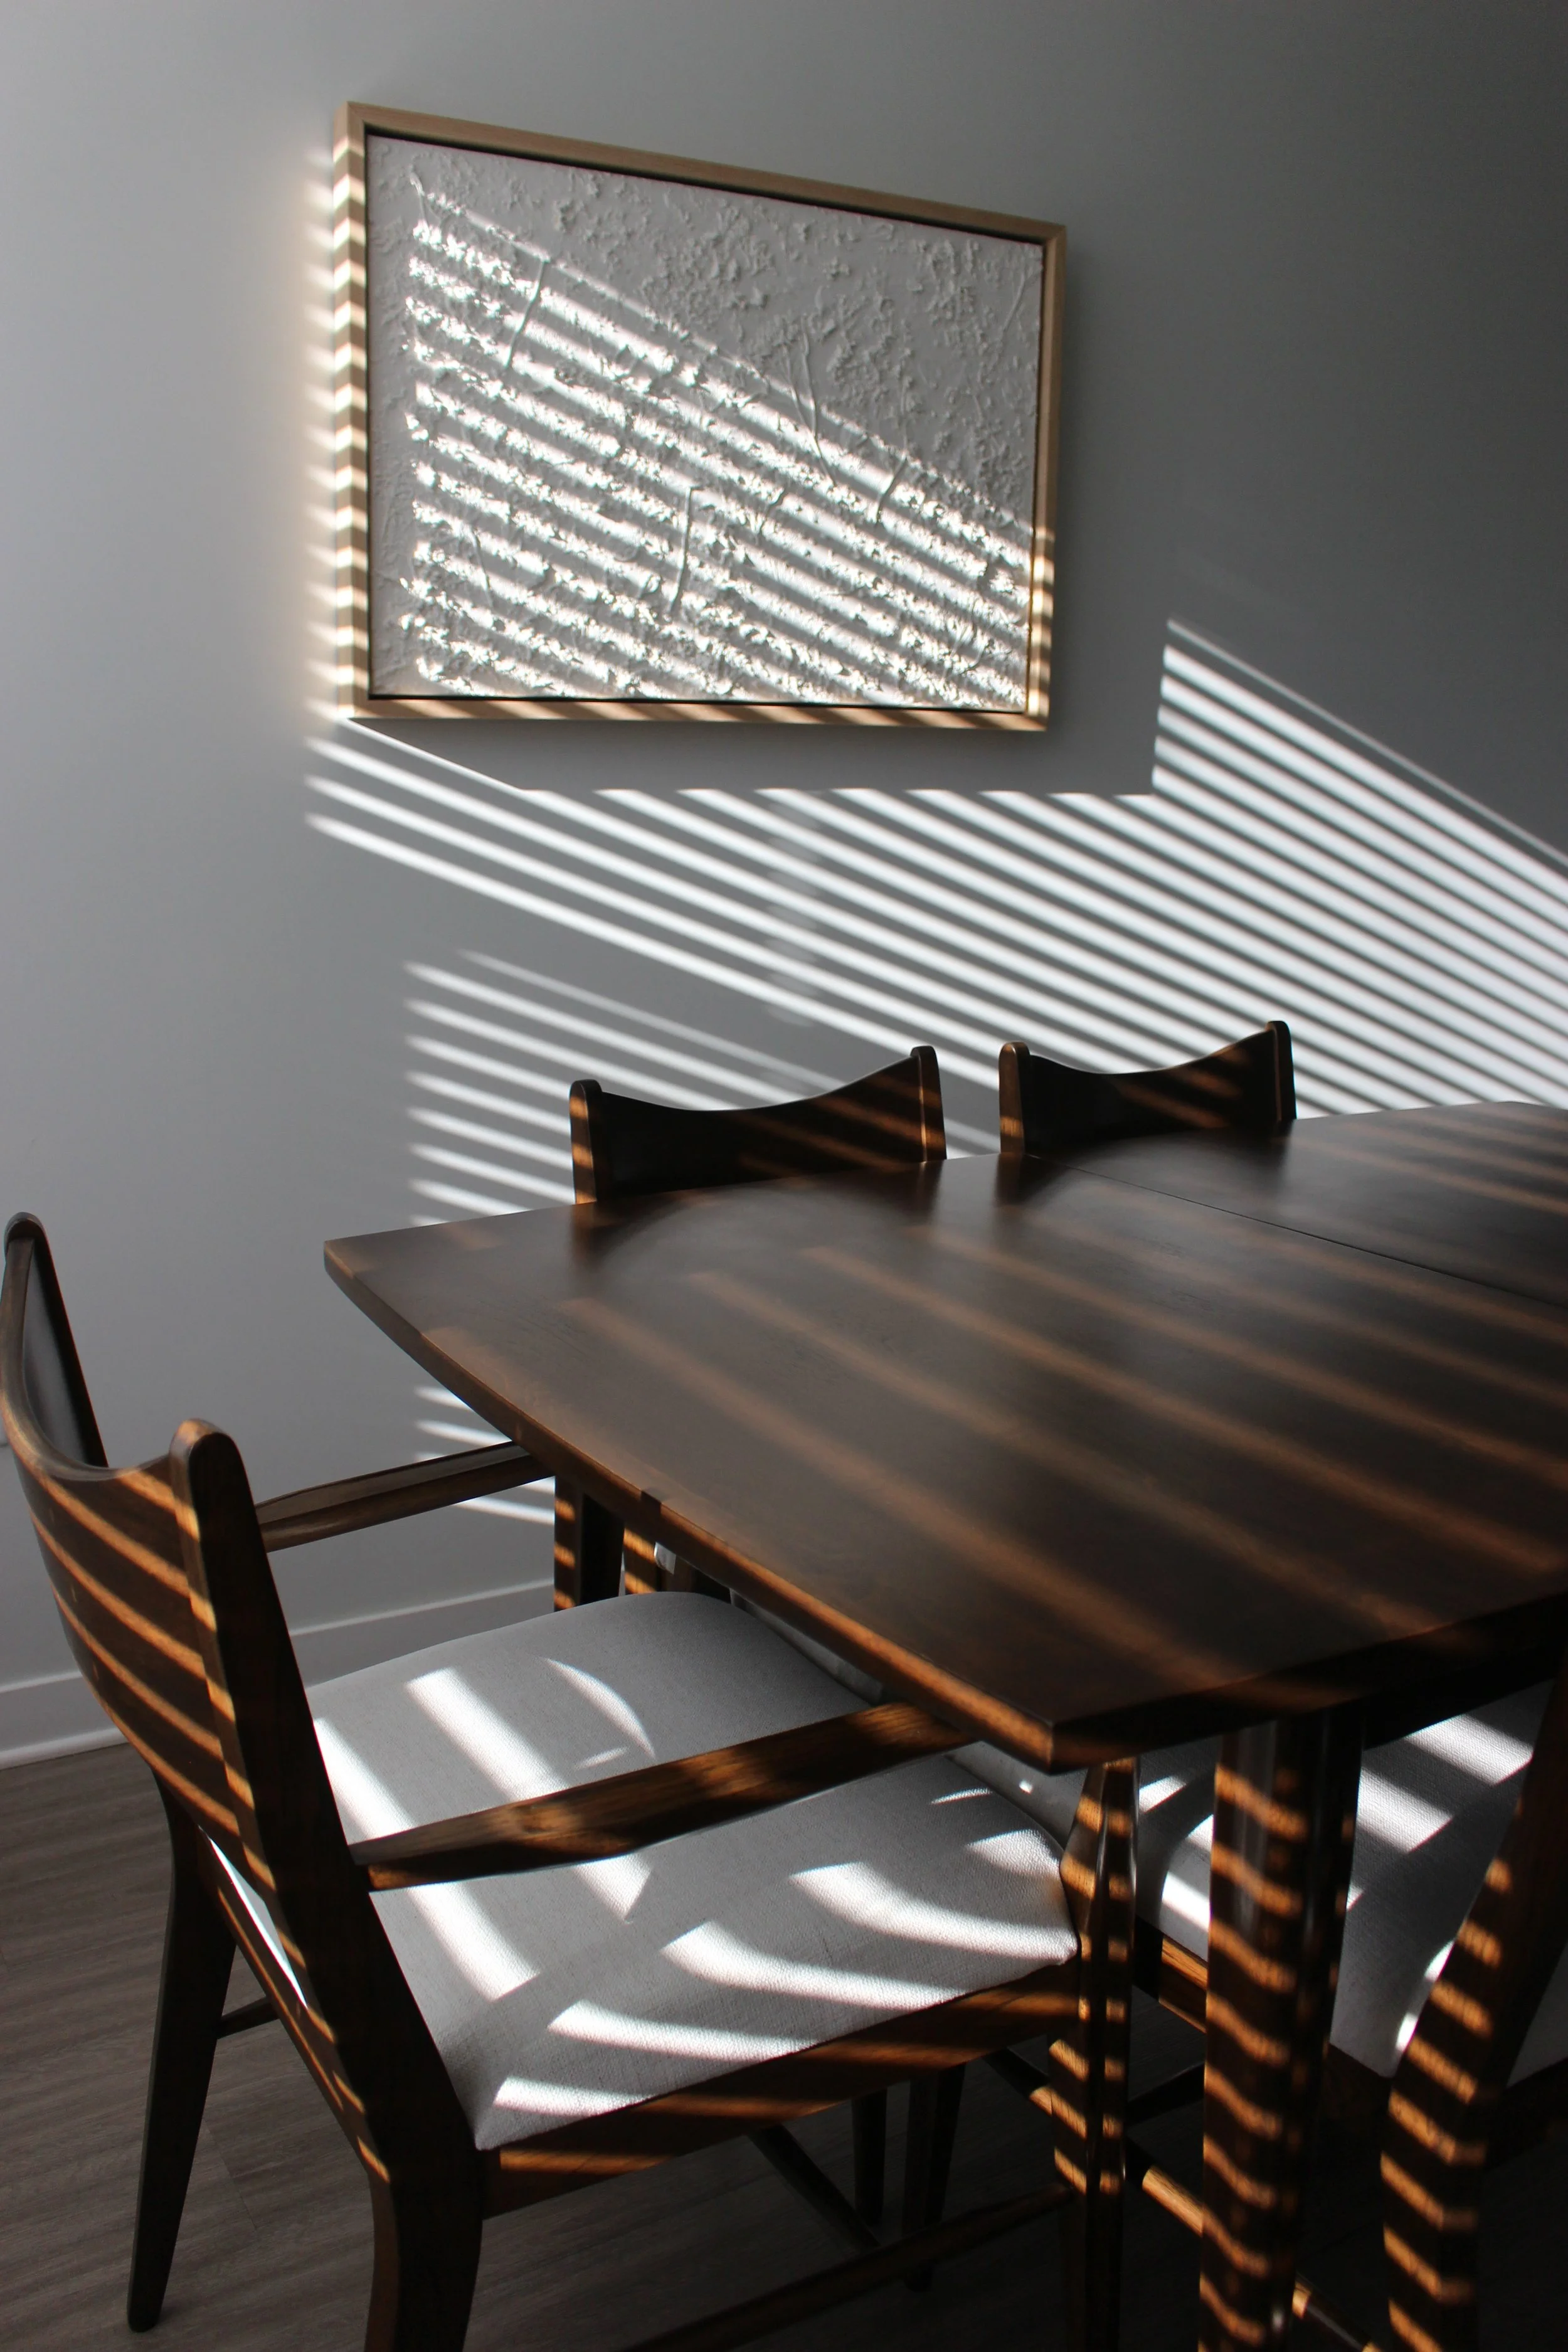
After
IT. WAS. WORTH. IT.
This project required a lot of time, energy, hard work and money, but it was absolutely worth it. One day I’ll get to tell my kids that me and their uncle Cam refinished this table together. Cameron and I actually engraved our initials underneath the table for sentimental sake. Friends and family will sit around this table and share beautiful dinners together, celebrate birthdays, holidays and everyday moments, laugh, share stories and linger together in one another’s company well after a meal is finished. To me, this was a lot more than just fixing up an old piece of furniture. It was for the sake of communion. To quite literally prepare a table for others to come to for all the years to come.